75 el camino project.
+24
Iggy
impalamonte
73ss
REVINKEVIN / Mr. 600+HP
tgaetto
fasrnur
bigredlaguna
Hawk03
Hs1973
Limey SE
thatfnthing
DaveFury
Joe73
chevellelaguna
Mcarlo77
knightfan26917
77mali
tropdeprojet
dynchel
pila
wunderlich_33
driveit
Dinomyte
JB2wheeler
28 posters
G3GM :: Media :: G3 Project Pictures
Page 5 of 11
Page 5 of 11 •  1, 2, 3, 4, 5, 6 ... 9, 10, 11
 Re: 75 el camino project.
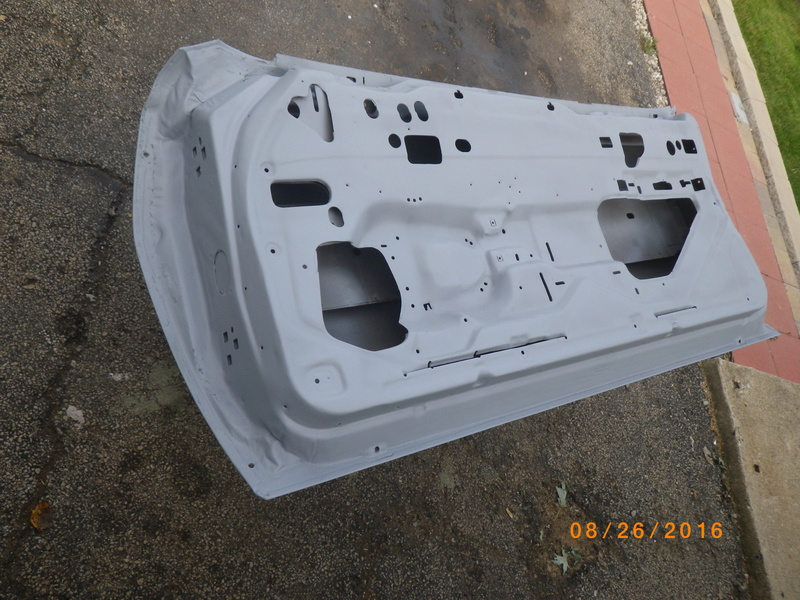
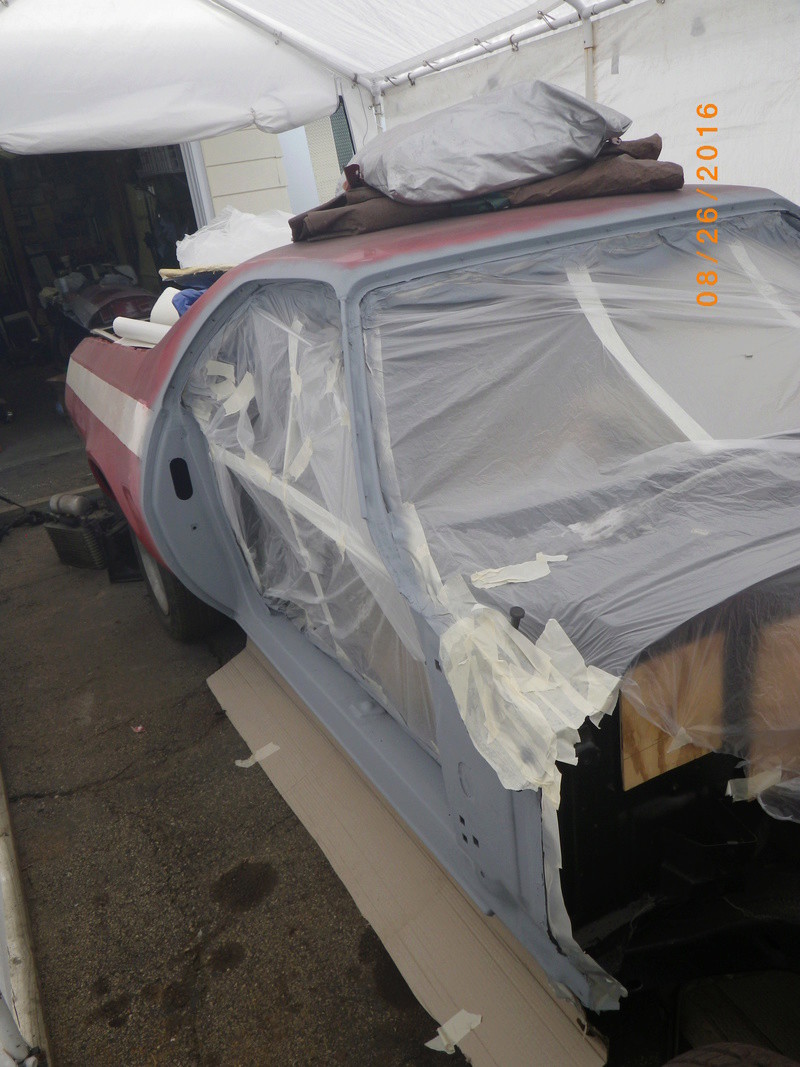
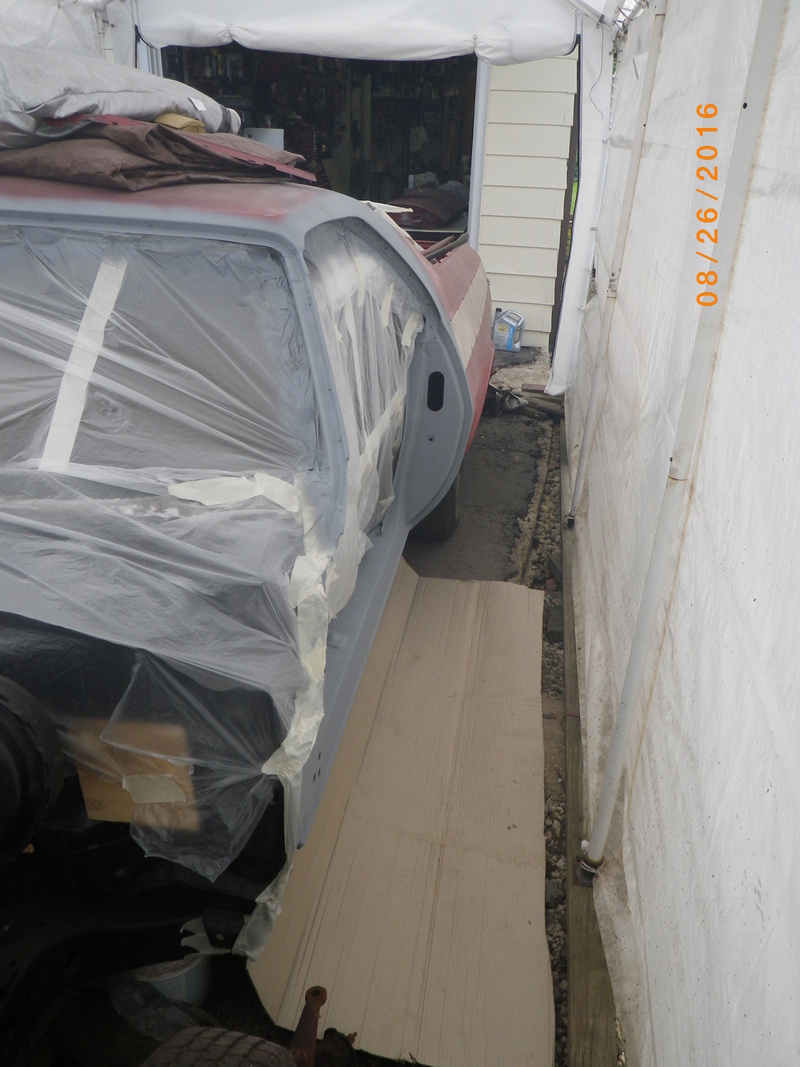
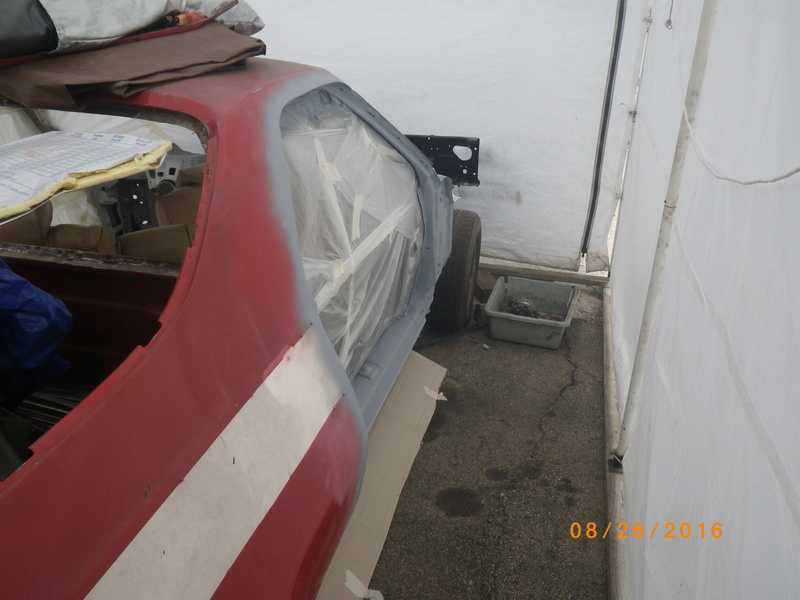
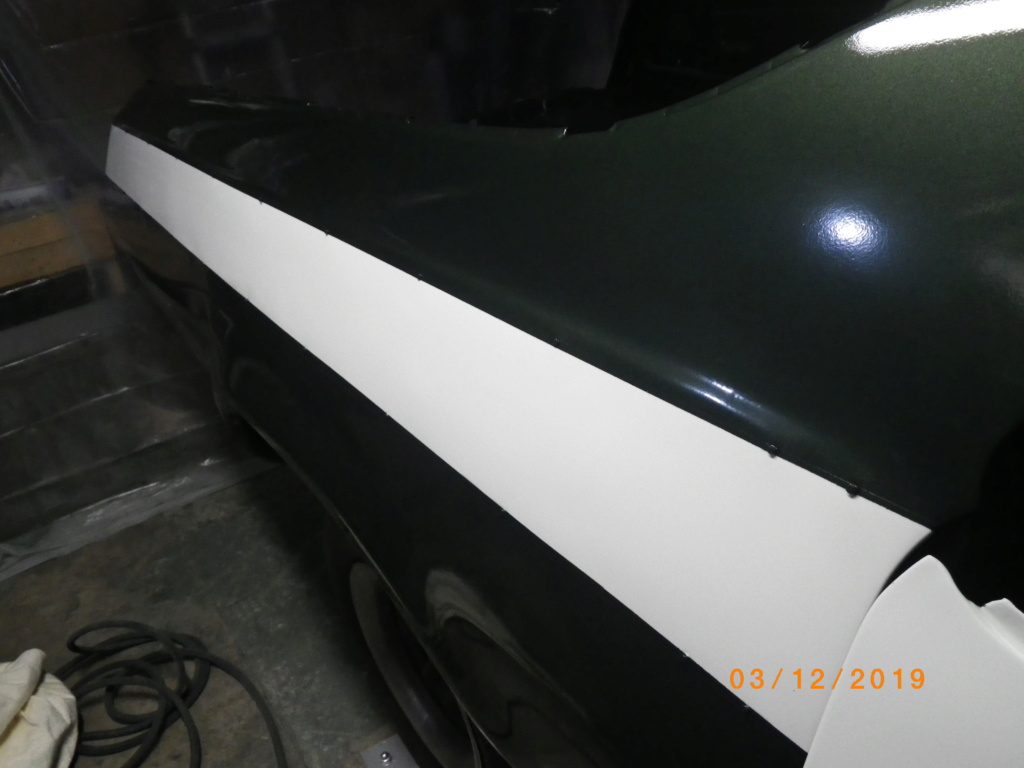
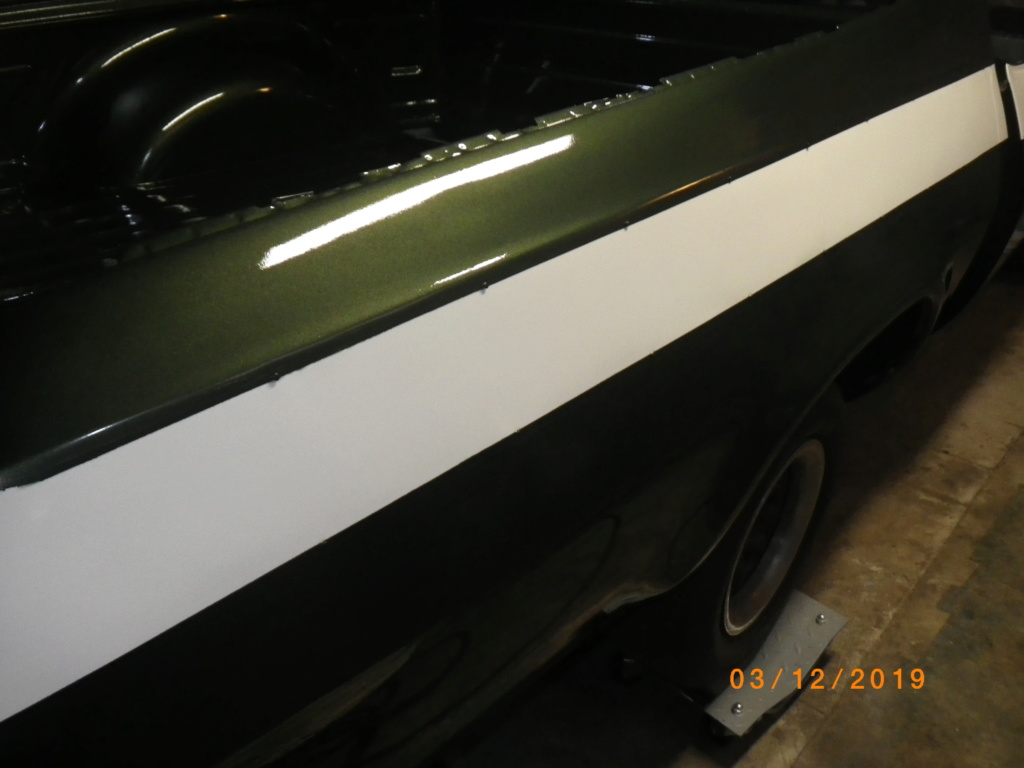
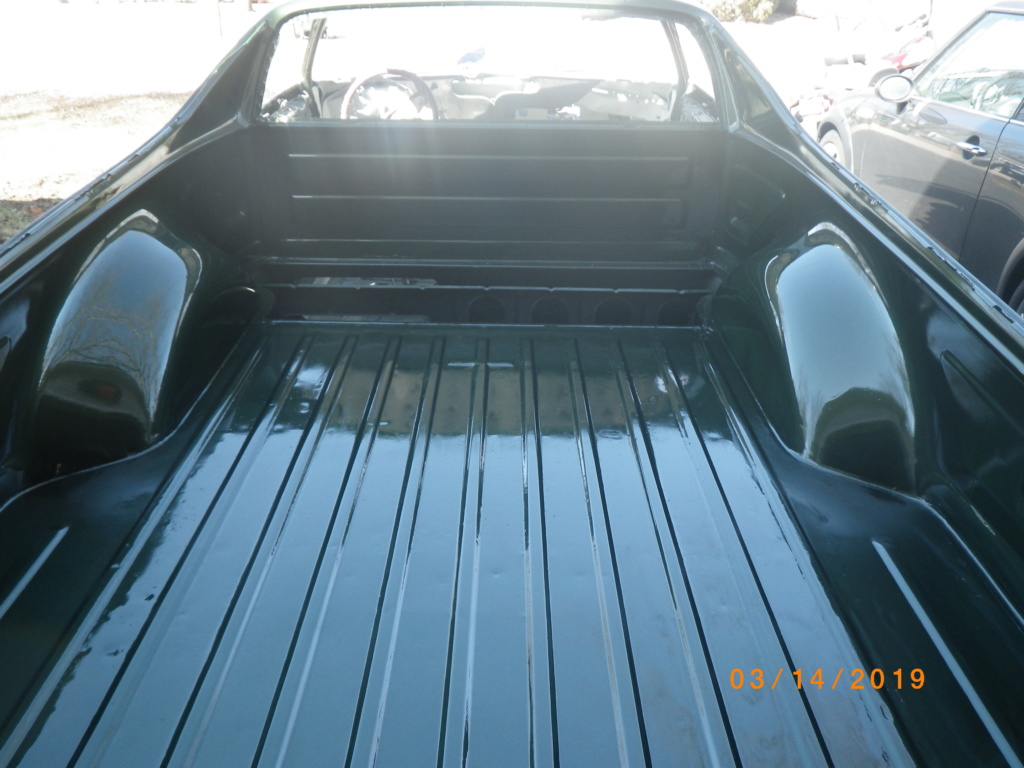
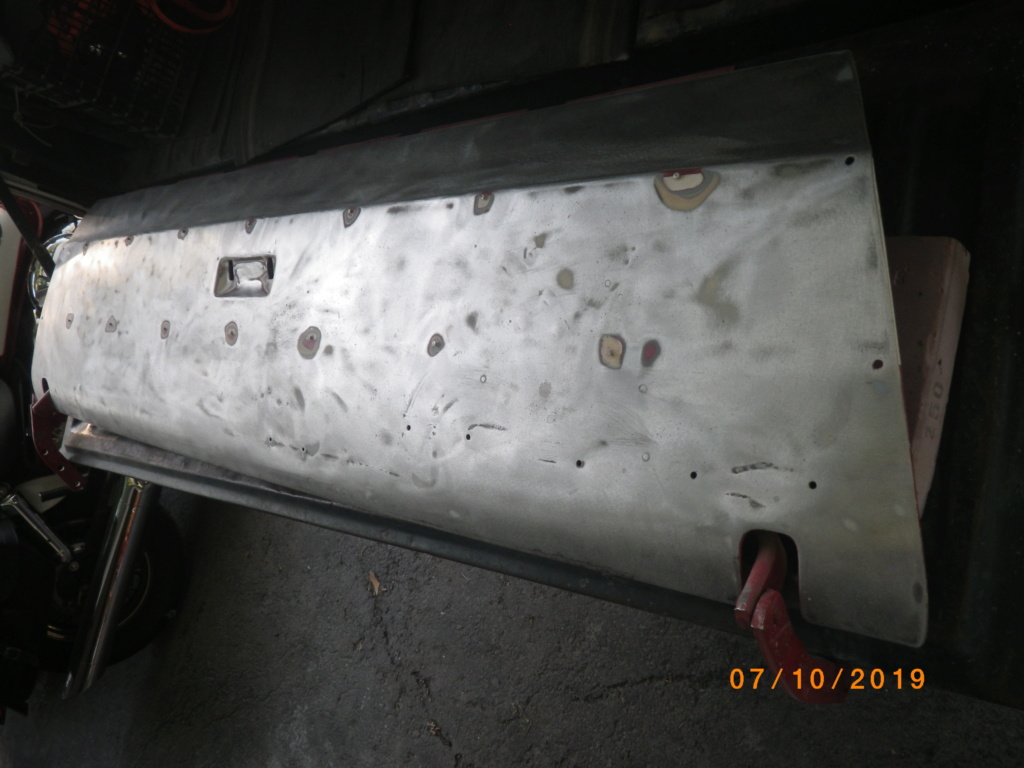
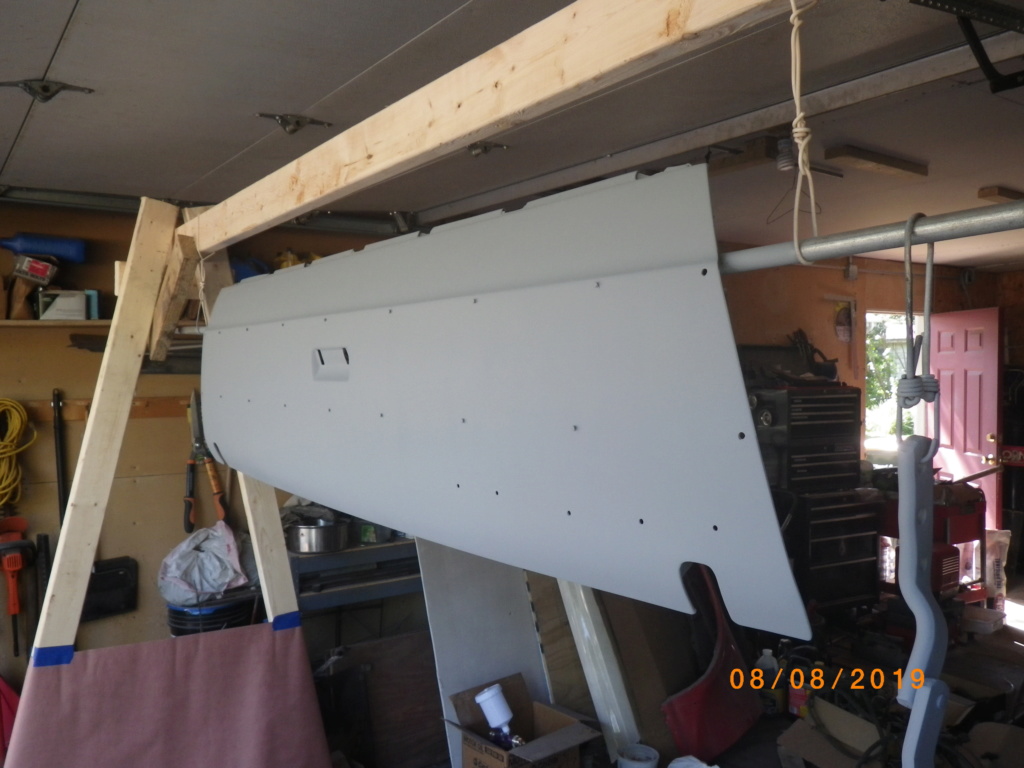
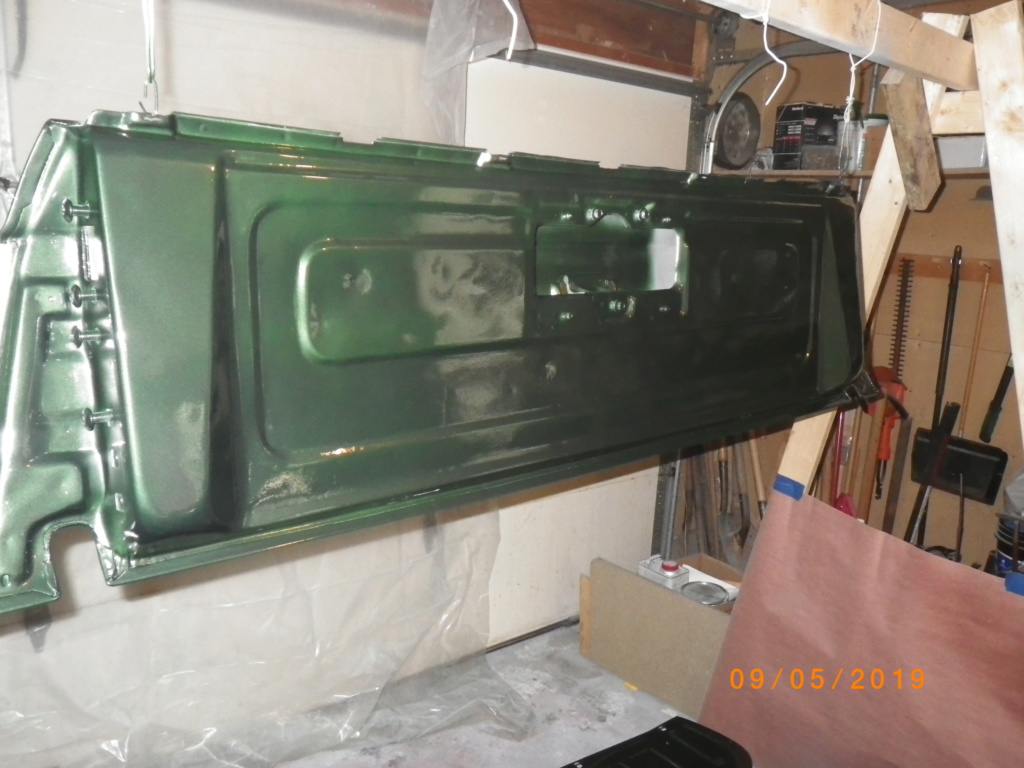
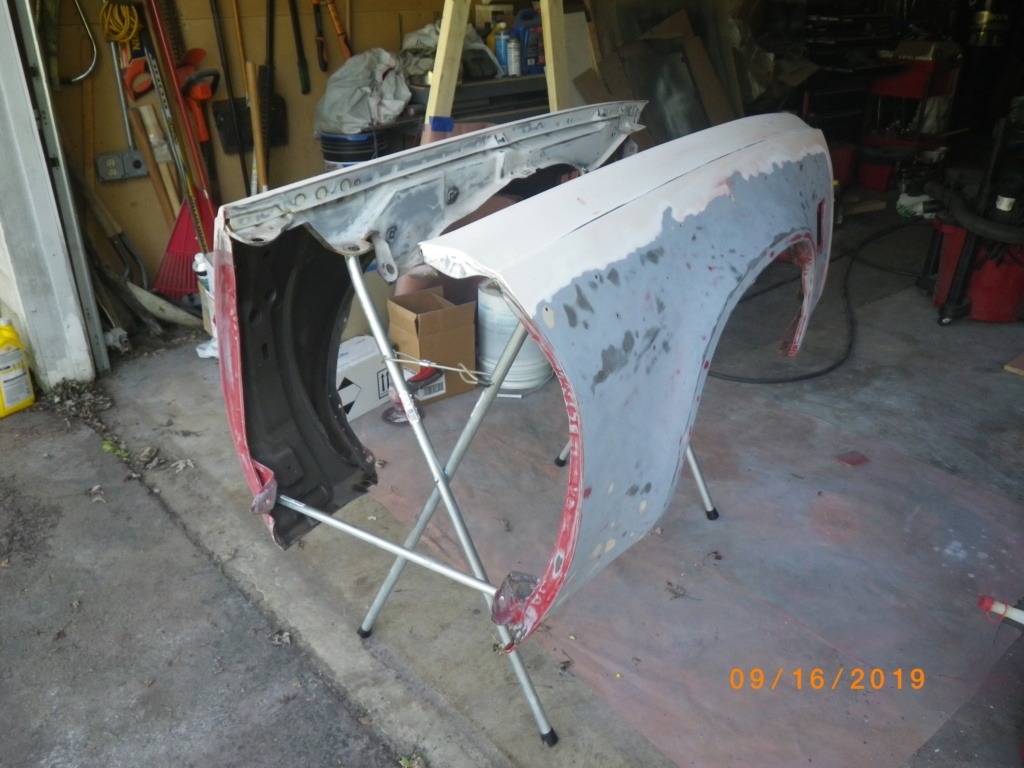
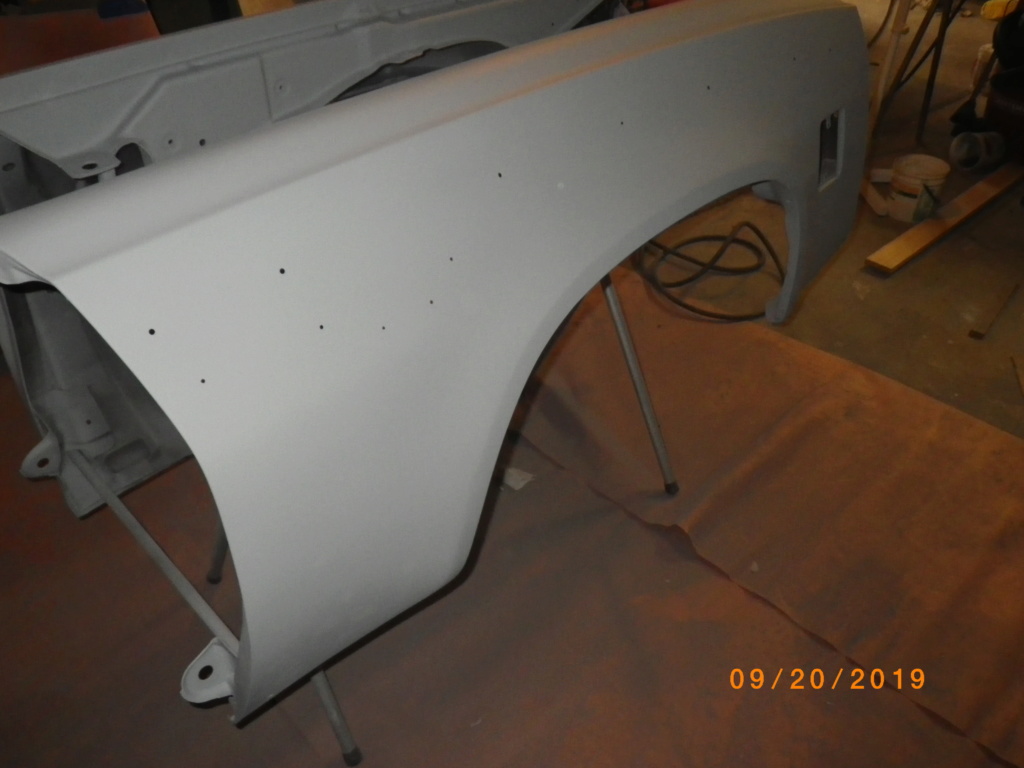
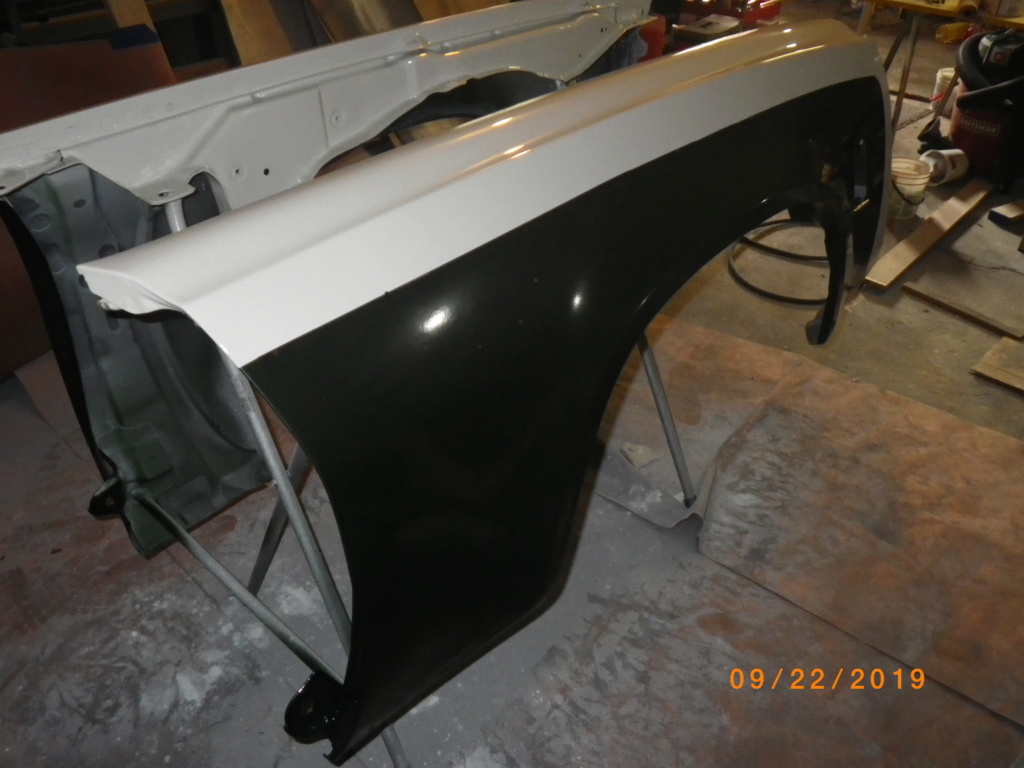
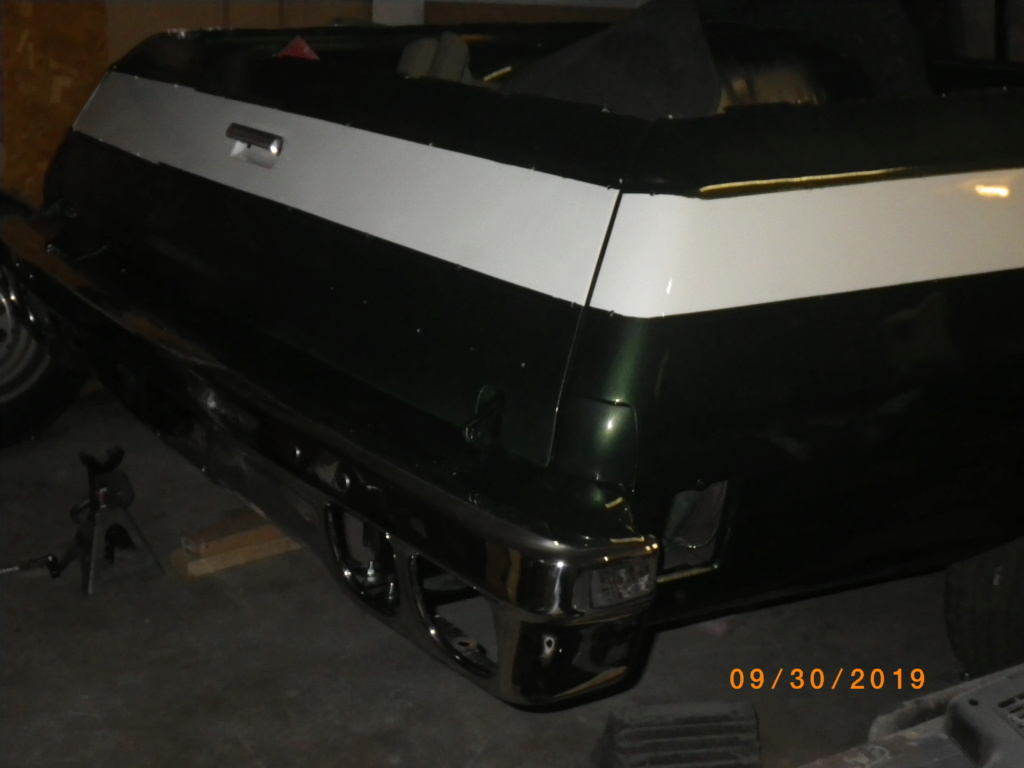
got the front window opening, door jams and inside of the doors primed and painted finally

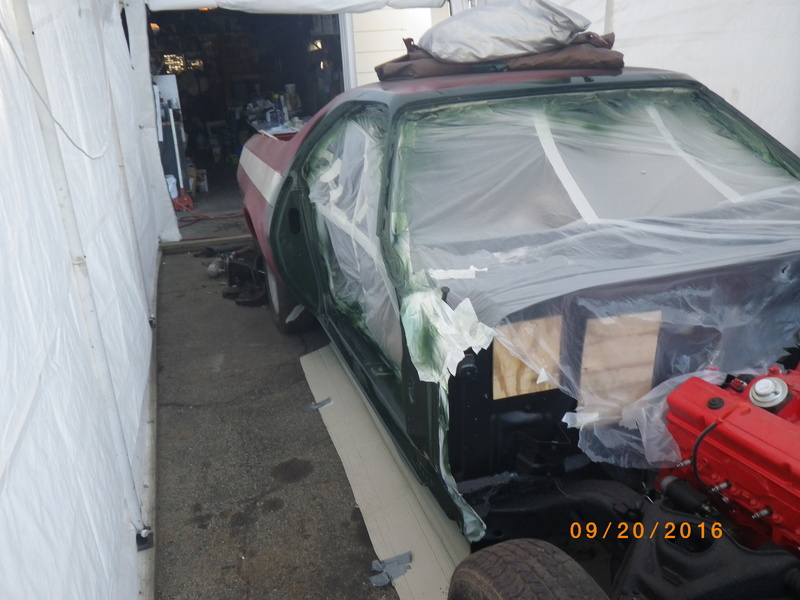
Dark Green Metallic
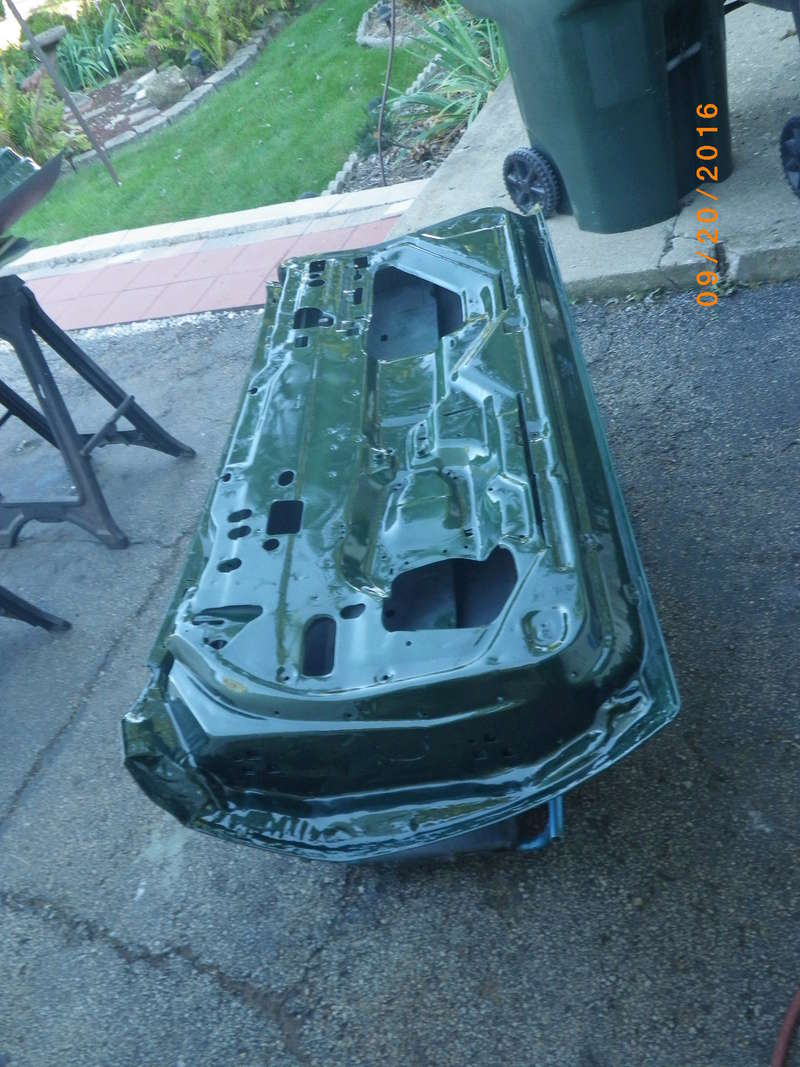
Dark Green Metallic


Dark Green Metallic

Dark Green Metallic


riddick75- G3GM Member

- Street Cred : 6
 Re: 75 el camino project.
yes, very nice color. Nice work. I'm building my paint booth right now.

Joe73- Donating Member

- Street Cred : 83
 Re: 75 el camino project.
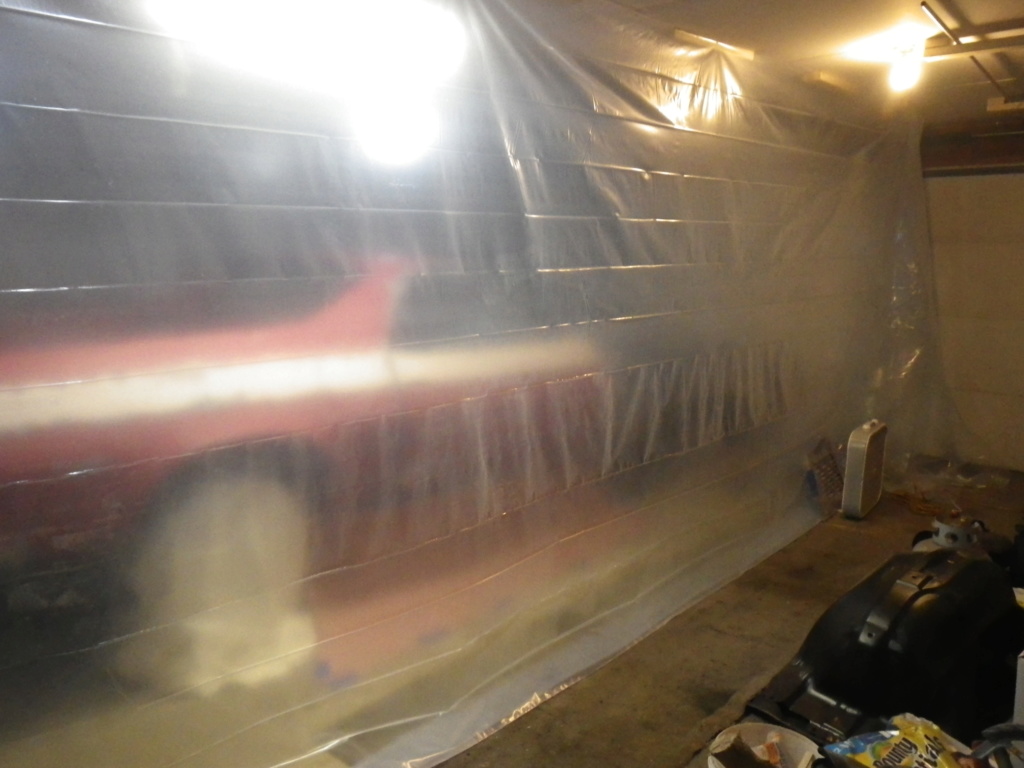
weather turned cold a little soon on me so I decided no more painting this year so she got put a way for the winter. but got some shots of my pile of parts next to my dads pile of parts. lol
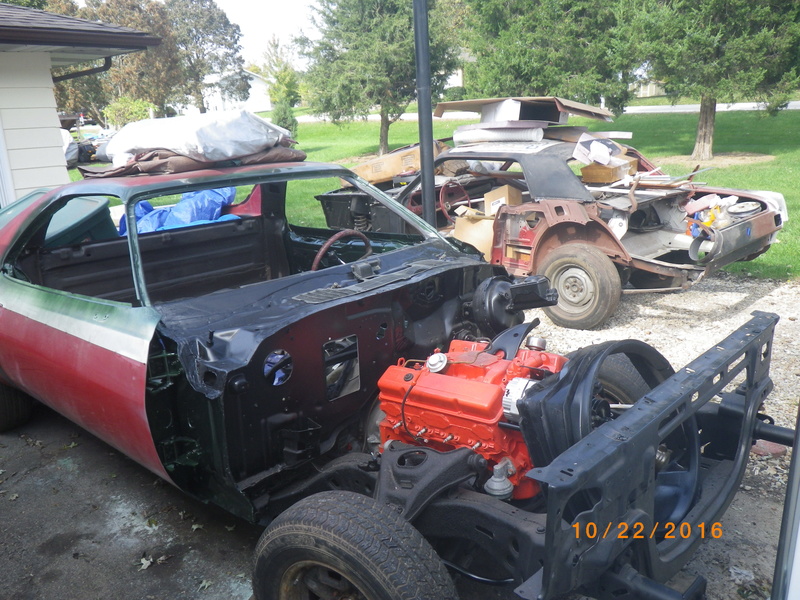
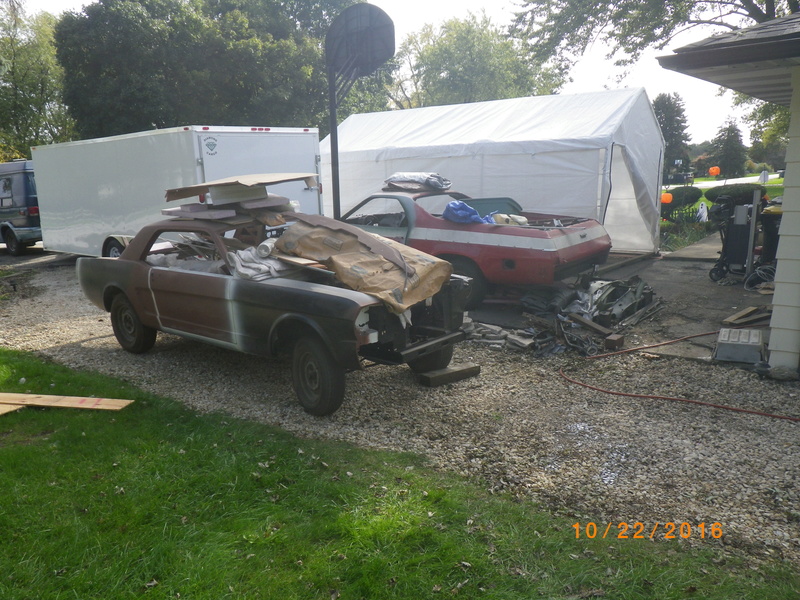
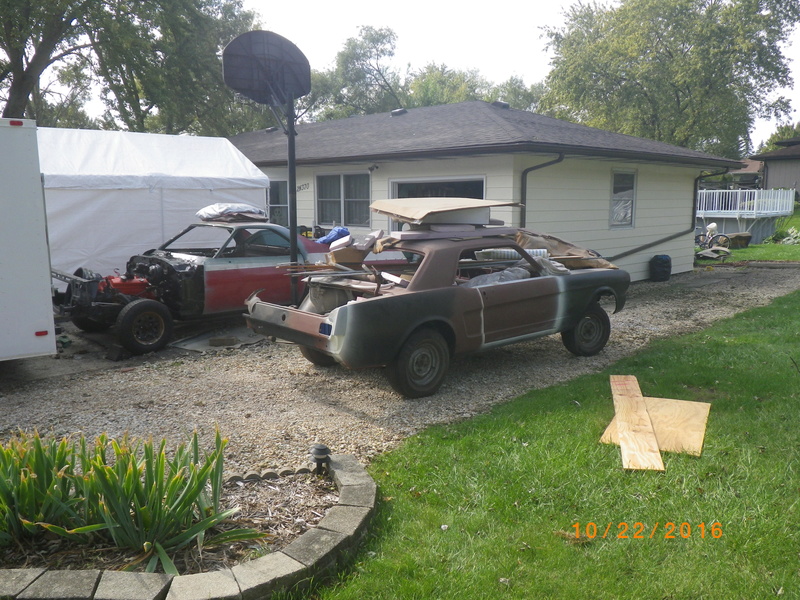
and some pictures with out the constraint of the tent in my way
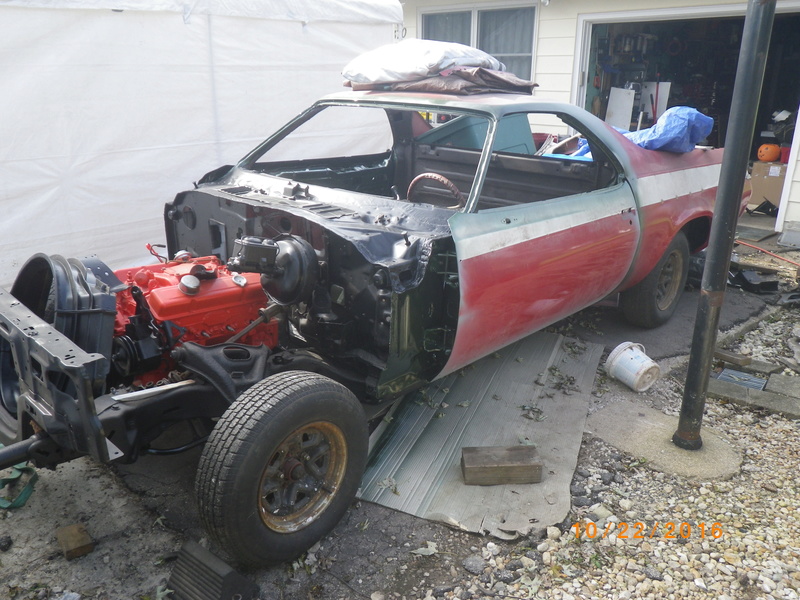
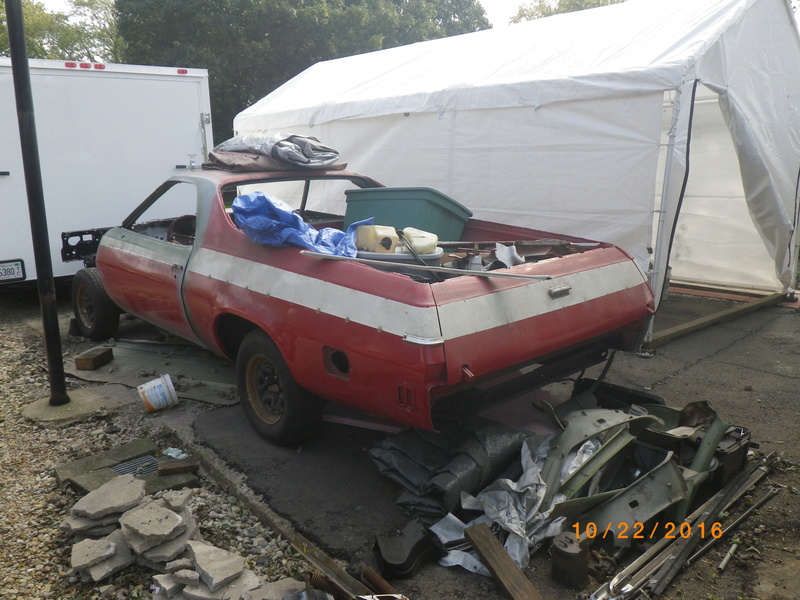
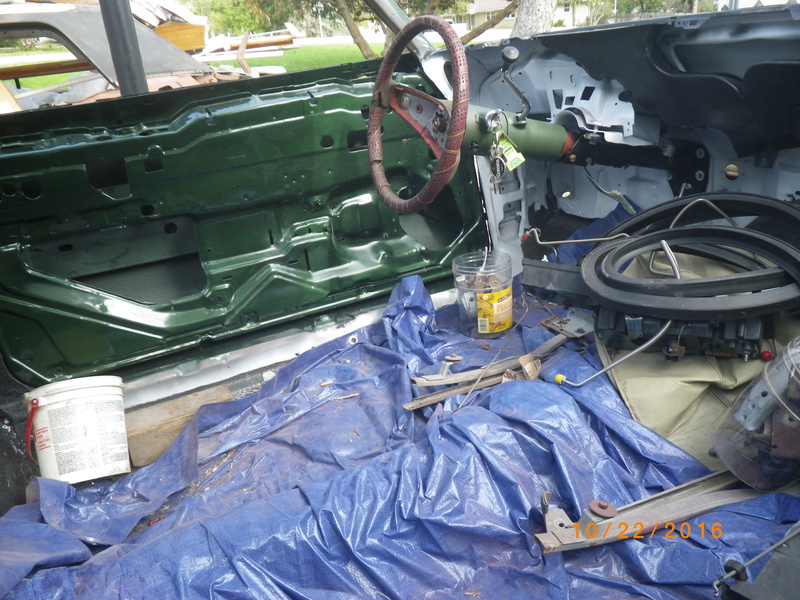
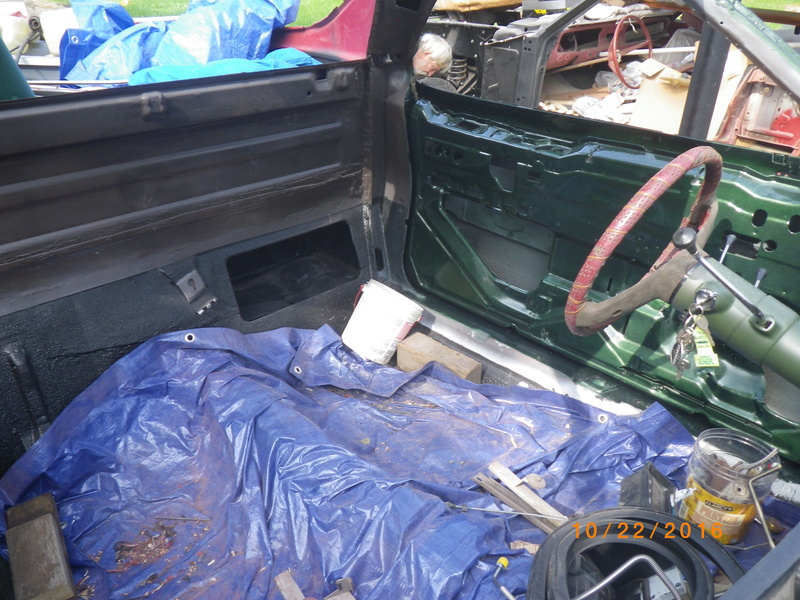


and some pictures with out the constraint of the tent in my way


riddick75- G3GM Member

- Street Cred : 6
 Re: 75 el camino project.
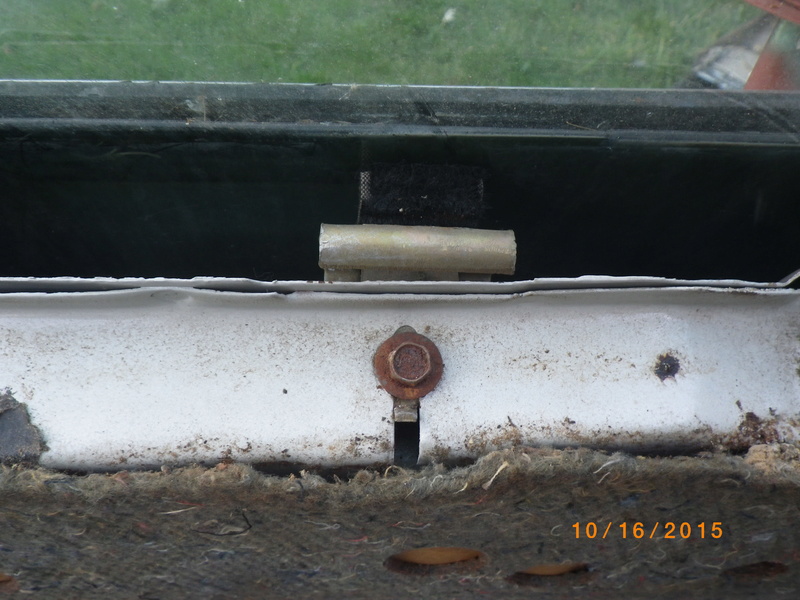
its been a while and mostly I havent done much to it but Im putting the side windows back in for safe keeping and Im trying to find a material that would work for the guide blocks. the old suff just disintegrated off. the brackets are perftctly fine just need the felt type stuff...has anyone found a good replacement for that or even the same material?


riddick75- G3GM Member

- Street Cred : 6
 Re: 75 el camino project.
riddick75 wrote:its been a while and mostly I havent done much to it but Im putting the side windows back in for safe keeping and Im trying to find a material that would work for the guide blocks. the old suff just disintegrated off. the brackets are perftctly fine just need the felt type stuff...has anyone found a good replacement for that or even the same material?
The fuzzy side of stick on Velcro works pretty good. I used it on the window guides on my '58 Plymouth Fury 12 years ago and it's still good to go.
Dave W.
DaveFury- G3GM Member

- Street Cred : 5
 Re: 75 el camino project.
funny thing is I was thinking of that. its the closest thing I could think of that looks like it. I'm glad to hear it does work for it.

riddick75- G3GM Member

- Street Cred : 6
 Re: 75 el camino project.
Last edited by riddick75 on Mon Mar 25, 2019 6:32 pm; edited 1 time in total

riddick75- G3GM Member

- Street Cred : 6
 Re: 75 el camino project.
I also got the windows in and like DaveFury suggested, used the fuzzy side of some industrial Velcro for the window guides, seemed to work really well.

riddick75- G3GM Member

- Street Cred : 6
 Re: 75 el camino project.
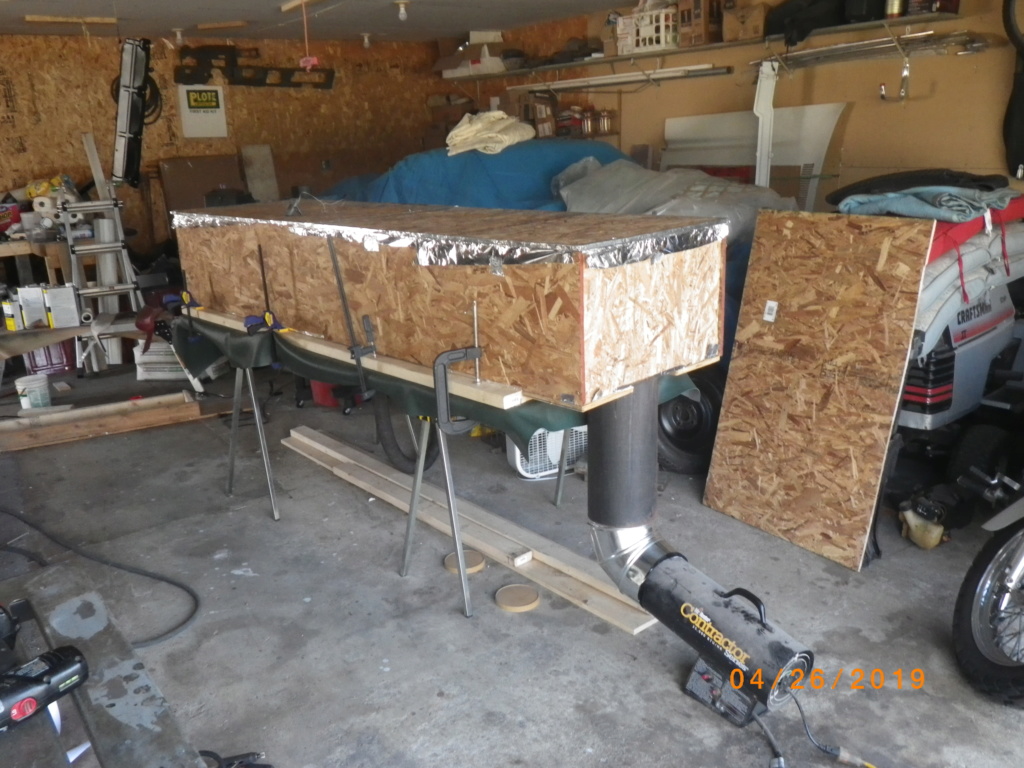
Riddick75 that's a great idea I have a few dash's I could do that with if you ever part with that set up LOOKS GREAT
___________________________________________
1977 Chevelle SE x2
One Mild original
one Wild NON original
Anthony

Limey SE- Management

- Street Cred : 98
 Re: 75 el camino project.
Limey SE wrote:Riddick75 that's a great idea I have a few dash's I could do that with if you ever part with that set up LOOKS GREAT
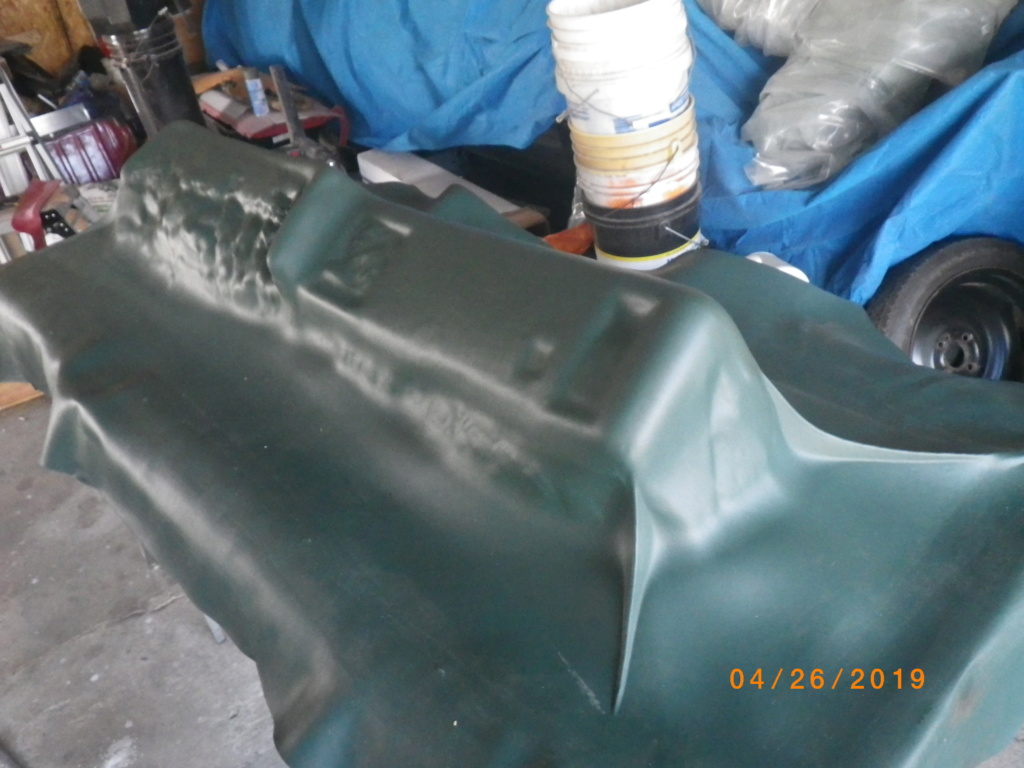
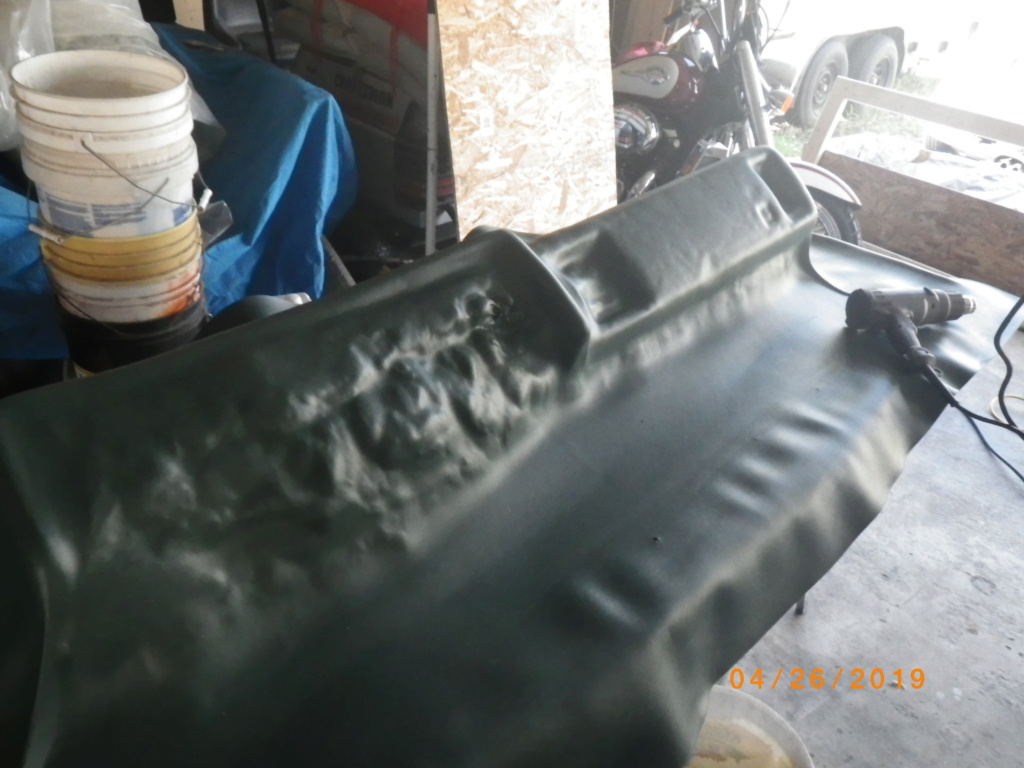
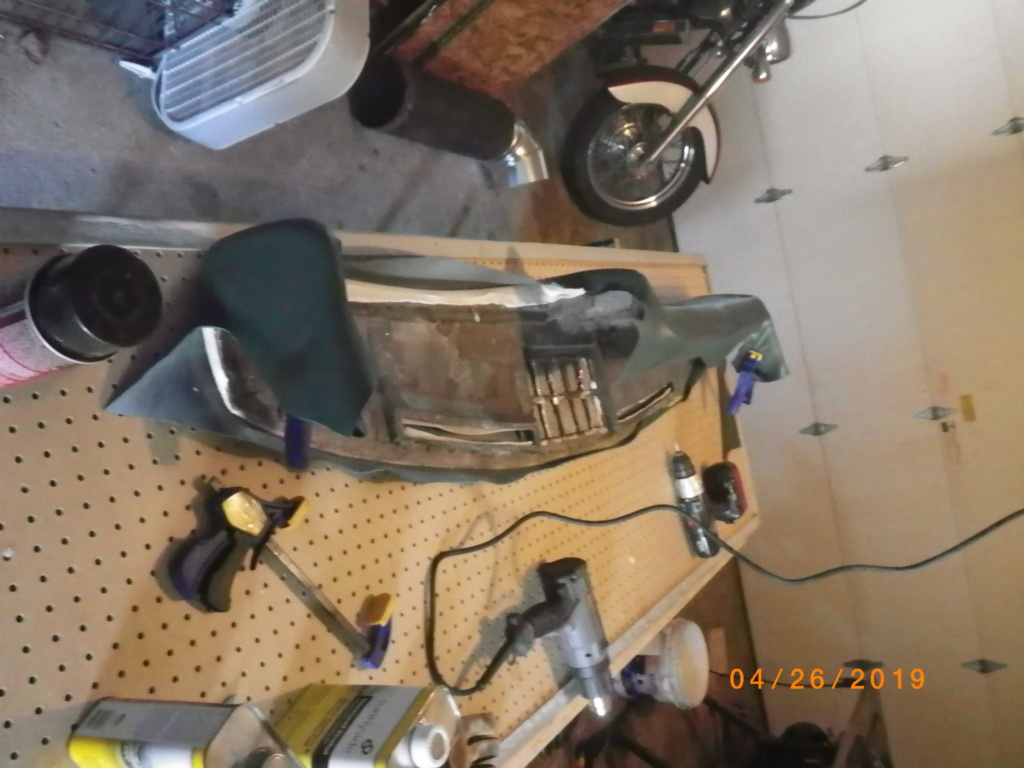
thanks, making the hot box and the vacuum table are the easy part, but finding the vinyl to use is the hard if not impossible part, I tried looking for the material again but could not find it anywhere.

riddick75- G3GM Member

- Street Cred : 6
 Re: 75 el camino project.
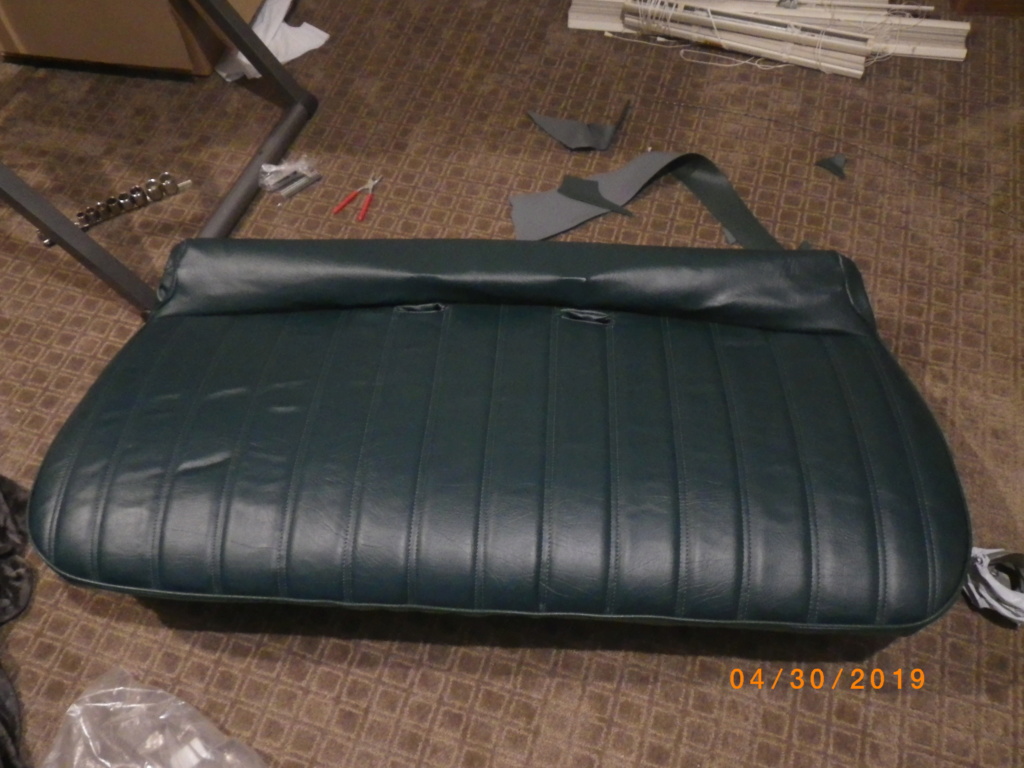
switching gears my seat covers came in from car upholstery guys. I already had the seats stripped and painted with some lacquer I had sitting on the shelf came out a pretty cool blue.
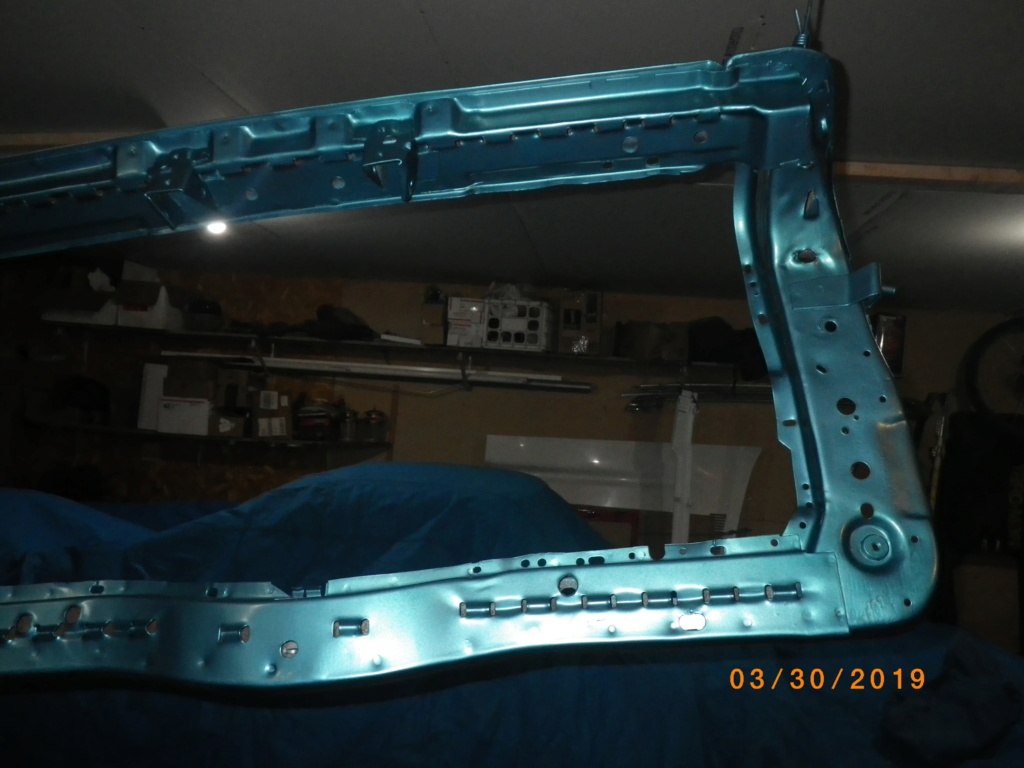

so started with the bottom seat
one of the backrests
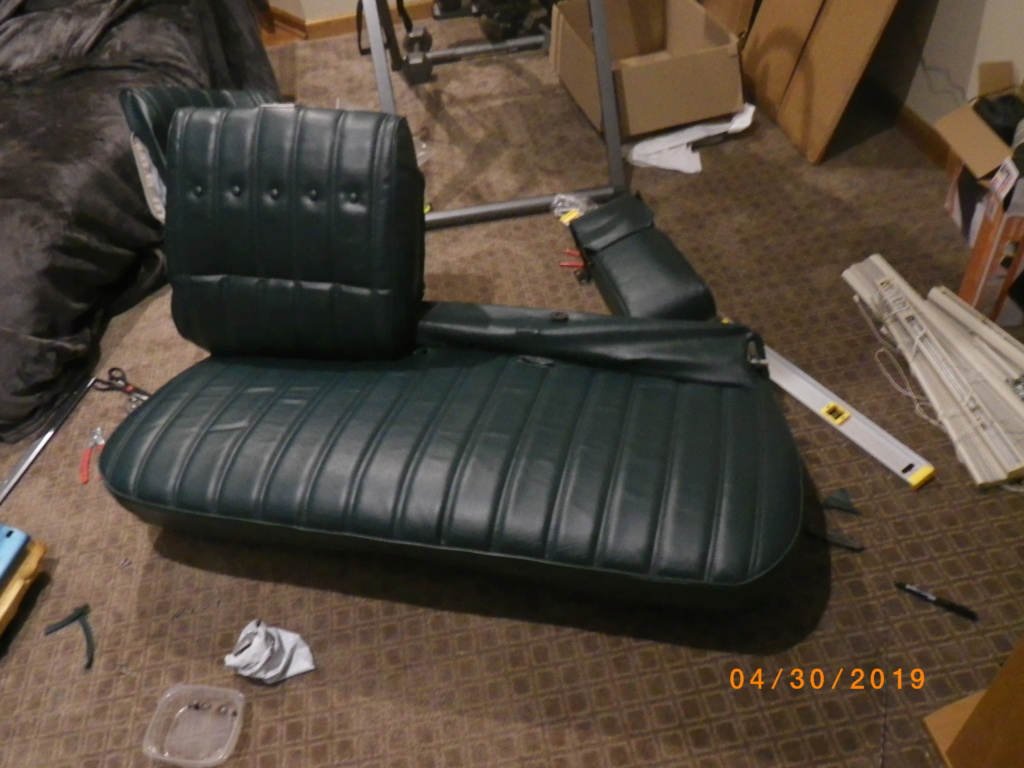
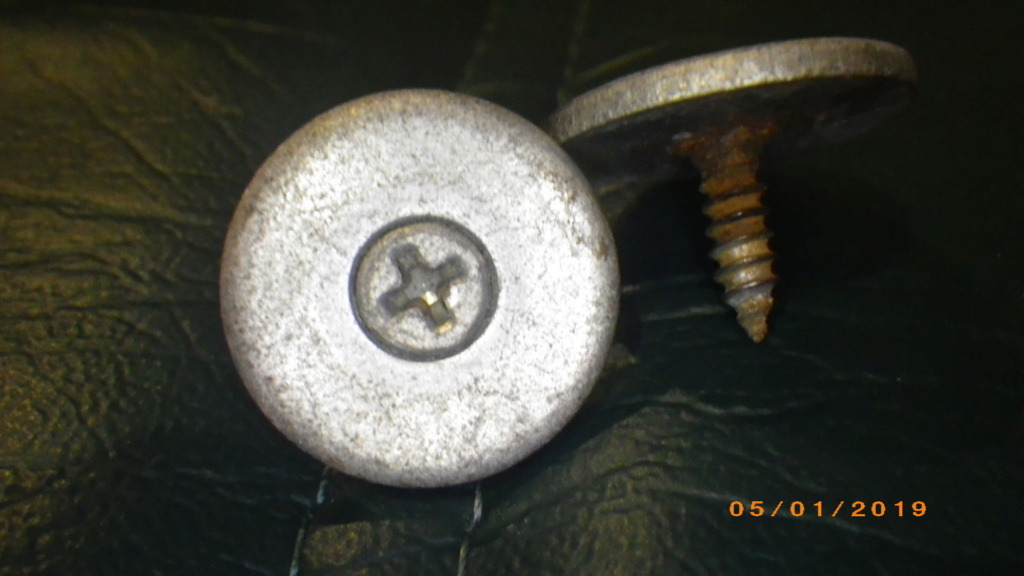
so if anyone has taken their front seat apart and knows where the screws go or if the back part of the lower seat is not supposed to be straight across that back when there is an armrest
but in my hubris of "it wont be that long I'll remember" I didn't take any pictures of the disassembly and can't remember where 2 screws go, I think they are on the bottom seat but I am also wondering if the seat was done wrong, where the arm rest sits I remember there being sewn in sections that jutted out to make room for the seat to pin in.


so started with the bottom seat

one of the backrests

so if anyone has taken their front seat apart and knows where the screws go or if the back part of the lower seat is not supposed to be straight across that back when there is an armrest
but in my hubris of "it wont be that long I'll remember" I didn't take any pictures of the disassembly and can't remember where 2 screws go, I think they are on the bottom seat but I am also wondering if the seat was done wrong, where the arm rest sits I remember there being sewn in sections that jutted out to make room for the seat to pin in.


riddick75- G3GM Member

- Street Cred : 6
 Re: 75 el camino project.
Im pretty sure the 2 screws goes in the bottom seat, on top af the little raised back part. One in each corner i Think. Im not 100procent sure but i belive i have seen them sitting there when you lean the backrest forward.

Hs1973- G3GM Enthusiast

- Street Cred : 14
 Re: 75 el camino project.
Thats a Cool Idea sir for hanging the parts to paint them and Starting to come together for ya Looks good
___________________________________________
1977 Chevelle SE x2
One Mild original
one Wild NON original
Anthony

Limey SE- Management

- Street Cred : 98
 Re: 75 el camino project.
Limey SE wrote:Thats a Cool Idea sir for hanging the parts to paint them and Starting to come together for ya Looks good
thanks, i figure its the best way to make sure full coverage of green. granted more tedious lol

riddick75- G3GM Member

- Street Cred : 6
 Re: 75 el camino project.


Wanna throw some silver on mine when Ready thats some good work Sir
___________________________________________
1977 Chevelle SE x2
One Mild original
one Wild NON original
Anthony

Limey SE- Management

- Street Cred : 98
 Re: 75 el camino project.
Looks good! I agree with Limey, pretty ingenious setup for painting panels.

thatfnthing- Donating Member

- Street Cred : 65
 Re: 75 el camino project.
thatfnthing wrote:Looks good! I agree with Limey, pretty ingenious setup for painting panels.
thanks

riddick75- G3GM Member

- Street Cred : 6
 Re: 75 el camino project.
Very ingenious way of supporting parts and panels. The paint looks great. Thanks for sharing these pics. Hopefully it keeps the rest of us motivated. BTW, how did your dash pad turn out???

g3chevy / Mr Pontiac- Donating Member

- Street Cred : 35
Page 5 of 11 •  1, 2, 3, 4, 5, 6 ... 9, 10, 11
 Similar topics
» '74 El Camino "Project Badass"
» MY DAILY DRIVER/PROJECT 73 EL CAMINO SS
» Classic Car Restoration Club: 1977 El Camino Project Car-Overview
» MY DAILY DRIVER/PROJECT 73 EL CAMINO SS
» Classic Car Restoration Club: 1977 El Camino Project Car-Overview
G3GM :: Media :: G3 Project Pictures
Page 5 of 11
Permissions in this forum:
You cannot reply to topics in this forum|
|
|









» Roll Call and Car showcase
» Central Texas Noob
» Welcome Keith Seymore
» Wanted: Front park lamp assemblies
» 75 Hurst Olds T-tpos
» G3 Chevy rims- help ID these
» 75 el camino project.
» Have had a few questions
» vinyl top removal