L88 scoop install
2 posters
 L88 scoop install
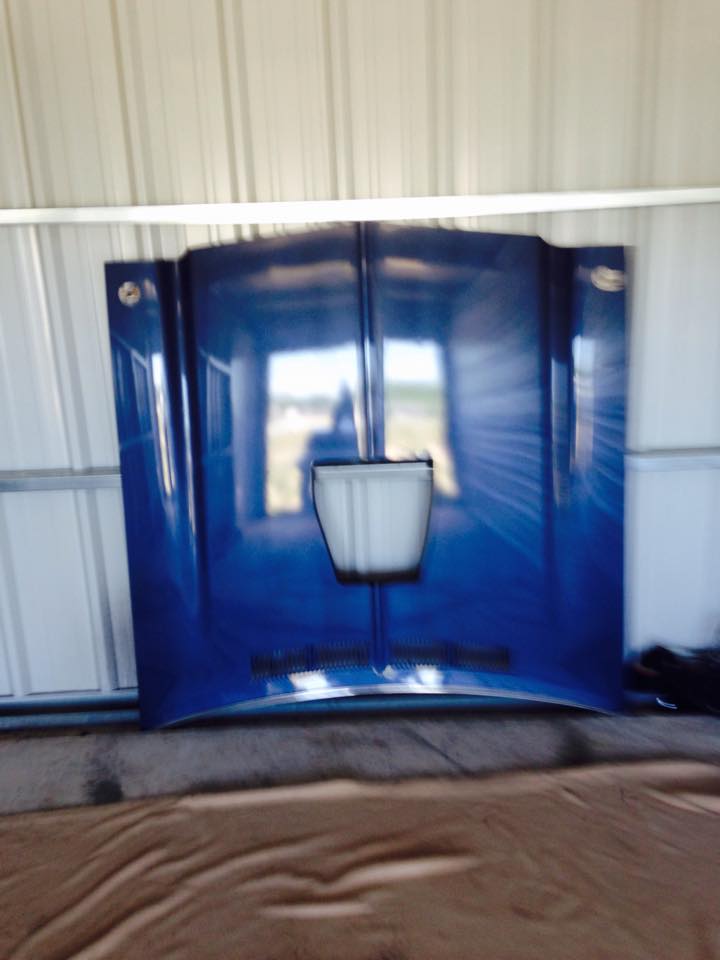
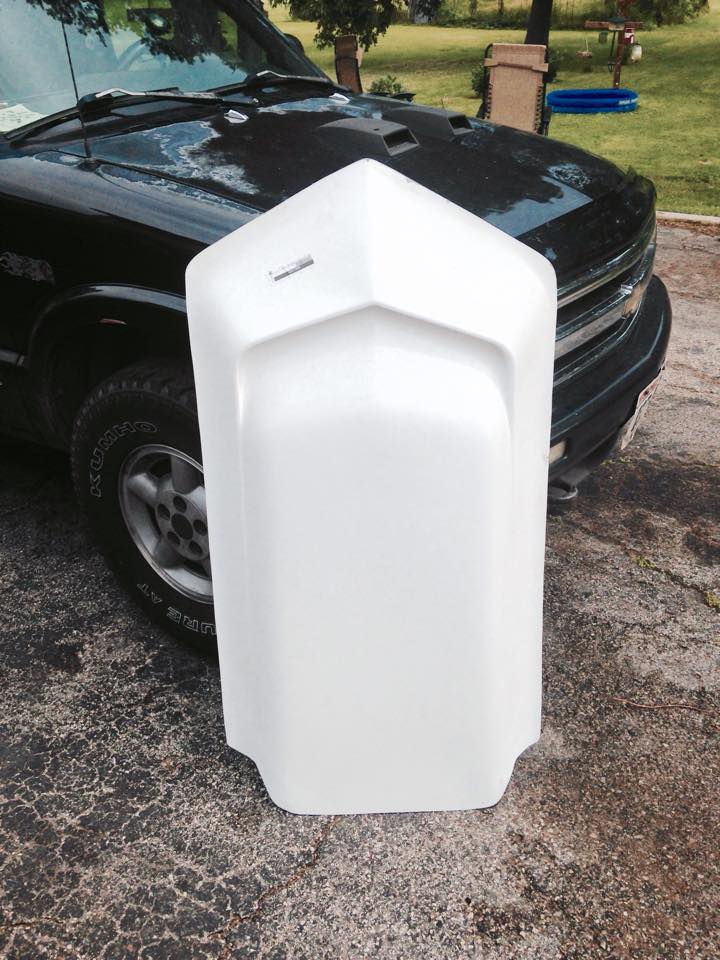
Ok Getting a different hood to put a L88 scoop on and need some guidance with installing it I know we have some body guru's here that have worked with the newer Adhesives and fillers and such, I did find this thru a friend and How far am I off ??
I don't know how far I am off with this suggestion ??


Trial fit the scoop to the hood and make some reference marks so you can test fit it and locate it in the same spot each time it goes on. If the contour of the scoop does not fit the shape of the hood you'll need to modify the scoop untill it does. Getting the scoop to fit well is key to success before you bond it on. If you need to trim the scoop or add material do it, the scoop shouldn't have any stress on it when installed.
Once the scoop fits the hood properly drill holes through the mounting flange every 4 inches and test fit with screws. If the fit is good your ready to prepare for the adhesive. If the hood has oem paint on it and the paint is in good condition just DA it with 80 grit. If the hood has a repaint on it or paint that is in poor condition you'll need to DA it to bare metal in the bonding area and apply two coats of epoxy. Let the epoxy setup overnight.
Sand the underside of the mounting flange with 80 grit. Clean both mating surfaces- blow them off with compressed air then wax and grease remover then compressed air again. Apply a good sized bead of adhesive and set the scoop on the hood. Install your screws from the front working your way back. Don't overtighten the screws and push all the adhesive out- there needs to be adhesive between the flange and hood- .010 to .020" would be good. Let the adhesive setup overnight. Then remove the screws and with a 3" grinder remove all of the excess adhesive that has squished out. Grind the flange down around the perimeter slowly so you don't create a lot of heat.
The flange needs to be ground so it tapers from full thickness out to paper thin at the outside edge. Remove any exposed adhesive. Use a 5/16" drill bit or a burr bit and countersink the screw holes slightly. Cut yourself some fiberglass mat strips and mix up some resin. The first layer of mat needs to go on the hood just outside of the flange, next layer should overlap the first and also 50% of the flange, third layer needs to overlap the second and 100% of the flange. Let this setup then rough shape with a grinder. Then apply a coat of Everglass over the complete bond area and shape with a half round cheese grater. Finish with regular body filler and glaze coat then prime.
You'll need to apply some urethane seamsealer around the inside perimeter of the scoop to keep moisture from entering the seam and freezing (North Country). Also some drain holes towards the front of the scoop is usually a good idea. To do this job right figure on spending 4-5 weeknights. Hope this made sense.
Fusor 127EZ is what you need
http://www.lord.com/Default.aspx?tabid=1193#127EZ128EZ


I don't know how far I am off with this suggestion ??


Trial fit the scoop to the hood and make some reference marks so you can test fit it and locate it in the same spot each time it goes on. If the contour of the scoop does not fit the shape of the hood you'll need to modify the scoop untill it does. Getting the scoop to fit well is key to success before you bond it on. If you need to trim the scoop or add material do it, the scoop shouldn't have any stress on it when installed.
Once the scoop fits the hood properly drill holes through the mounting flange every 4 inches and test fit with screws. If the fit is good your ready to prepare for the adhesive. If the hood has oem paint on it and the paint is in good condition just DA it with 80 grit. If the hood has a repaint on it or paint that is in poor condition you'll need to DA it to bare metal in the bonding area and apply two coats of epoxy. Let the epoxy setup overnight.
Sand the underside of the mounting flange with 80 grit. Clean both mating surfaces- blow them off with compressed air then wax and grease remover then compressed air again. Apply a good sized bead of adhesive and set the scoop on the hood. Install your screws from the front working your way back. Don't overtighten the screws and push all the adhesive out- there needs to be adhesive between the flange and hood- .010 to .020" would be good. Let the adhesive setup overnight. Then remove the screws and with a 3" grinder remove all of the excess adhesive that has squished out. Grind the flange down around the perimeter slowly so you don't create a lot of heat.
The flange needs to be ground so it tapers from full thickness out to paper thin at the outside edge. Remove any exposed adhesive. Use a 5/16" drill bit or a burr bit and countersink the screw holes slightly. Cut yourself some fiberglass mat strips and mix up some resin. The first layer of mat needs to go on the hood just outside of the flange, next layer should overlap the first and also 50% of the flange, third layer needs to overlap the second and 100% of the flange. Let this setup then rough shape with a grinder. Then apply a coat of Everglass over the complete bond area and shape with a half round cheese grater. Finish with regular body filler and glaze coat then prime.
You'll need to apply some urethane seamsealer around the inside perimeter of the scoop to keep moisture from entering the seam and freezing (North Country). Also some drain holes towards the front of the scoop is usually a good idea. To do this job right figure on spending 4-5 weeknights. Hope this made sense.
Fusor 127EZ is what you need
http://www.lord.com/Default.aspx?tabid=1193#127EZ128EZ


Limey SE- Management

- Street Cred : 98
 Re: L88 scoop install
Those instructions sound good. As for sanding the edge to a taper with 80 grit, I'd make sure there's a decent taper on the scoop before installation. I've done 2 scoops over the years and they were molded pretty thick on the edge. I had to get a decent taper before install otherwise it would be pretty high which would need a ton more filler to blend it in.
Just something to check.
Just something to check.

Joe73- Donating Member

- Street Cred : 83
 Re: L88 scoop install
Right I hear ya Joe on the taper I was actually thinking of using a filler between where the scoop meets the hood before repainting the hood, My question on that also is should I paint under the where the scoop is going to go first before install ??

Limey SE- Management

- Street Cred : 98
 Re: L88 scoop install
When I did them back in the 80's I'd grind the paint off the area on the hood, put a coat of "gorilla" hair down, rivet the scoop down and let dry. Then remove the rivets and blend the area with "kitty" hair. After that, then a skim of bondo.
So yes, grind the paint off for good adhesion and go with your directions for the adhesive. Adhesive will bond to the bare hood and to the scoop. I wouldnt put anything between them.
So yes, grind the paint off for good adhesion and go with your directions for the adhesive. Adhesive will bond to the bare hood and to the scoop. I wouldnt put anything between them.

Joe73- Donating Member

- Street Cred : 83
 Re: L88 scoop install
NO I meant after its Bonded to the Hood to keep water from getting in sort of thing and rusting the Hood

Limey SE- Management

- Street Cred : 98
 Re: L88 scoop install
You could. Just keep it to the inside edge not to interfere with bonding adhesive. Let the scoop squish it down a bit.

Joe73- Donating Member

- Street Cred : 83
 Re: L88 scoop install
I wouldn't want it on the outside for the Glass to hide it when Covering the holes ? for when I blend it smooth it would hide it ?? not sure Man

Limey SE- Management

- Street Cred : 98
 Re: L88 scoop install
Keep it to the inside edge. The outside will be covered with filler. As for filler, Id use USC All Metal or Evercoat metal to metal. Theyre great products and pretty much waterproof.

Joe73- Donating Member

- Street Cred : 83
 Re: L88 scoop install
Oh anytime!! I still have that vent for you. Did you ever get the cutlass?? No rush.

Joe73- Donating Member

- Street Cred : 83
 Re: L88 scoop install
its coming just trying to get the transport lined up for I am not loosing money on the deal

Limey SE- Management

- Street Cred : 98
Permissions in this forum:
You cannot reply to topics in this forum|
|
|


» Roll Call and Car showcase
» Central Texas Noob
» Welcome Keith Seymore
» Wanted: Front park lamp assemblies
» 75 Hurst Olds T-tpos
» G3 Chevy rims- help ID these
» 75 el camino project.
» Have had a few questions
» vinyl top removal