A/C duct, plastic repair?
5 posters
 A/C duct, plastic repair?
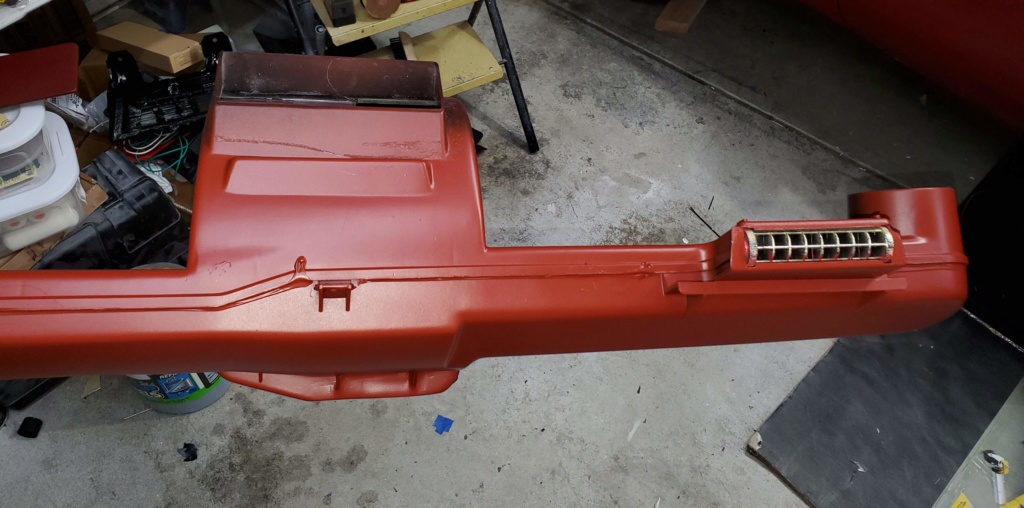
So I have 2 of the underdash ducts, one from the 75 I just pulled and the one from the 73 Laguna parts car. They both have broken plastic. The 75 is more broken, but the factory seam on the 73 isn't fitting together well so it feels less sturdy. Is it worth trying to repair these screw mounts? If so, how? What would be the right goo/epoxy for sealing the seam?
73 above, 75 below.

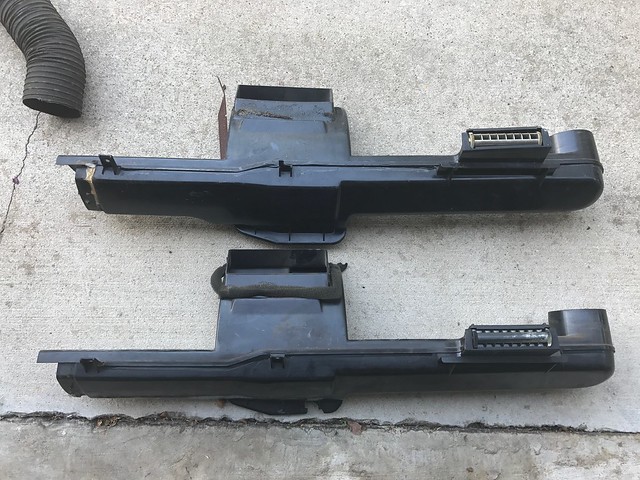
73 above, 75 below.


crice63- Donating Member

- Street Cred : 2
 Re: A/C duct, plastic repair?
I just did a heater core in my Chevelle and had a broke tab myself. I used Q-Bond to rebuild the tab. It has 3 different parts, glue, plastic filler and metal filler. The glue is super thin so it flows into tight cracks, it bonds quickly and is stronger than super glue. the filler is a powder that instantly hardens once the glue touches it. I couldn't find all of the broken pieces, so I used the filler to reform and complete the tab. I used masking tape as a form to keep the filler in place. It worked perfectly. I've used the Q-Bond on everything from gluing the plastic bumper together on the wife's Yukon to repairing an aluminum lawn mower deck.
http://qbond.net/
http://qbond.net/
Podor- G3GM Member

- Street Cred : 2
 Re: A/C duct, plastic repair?
I bought some Q Bond to try on my next plastic repair as I've not had much luck with other super glues on the market. Hope it's as good as it's been made out to be. I'm amazed it would hold against the pressure of a small mtg screw on a rebuilt tab.
Best price I found was using Walmart's online pricing at $11.95 shipped (partnered with JB Tool Sales).
Best price I found was using Walmart's online pricing at $11.95 shipped (partnered with JB Tool Sales).
Mcarlo77- Donating Member

- Street Cred : 78
 Re: A/C duct, plastic repair?
Q-Bond was ordered from Amazon.
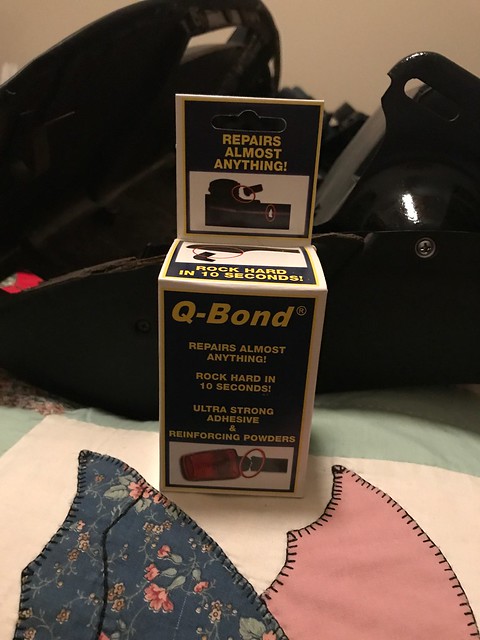
I decided to go with the 73 duct--Fewer broken parts. The center tab on the 75 is good so I grabbed some clay--wait, can't find any clay in the house. Kids have grown up and taken all the clay! Instead I found some putty used for hanging things on walls. It's a bit sticky but holds its shape, so I put a little oil on the tab and pressed an impression of the tab.
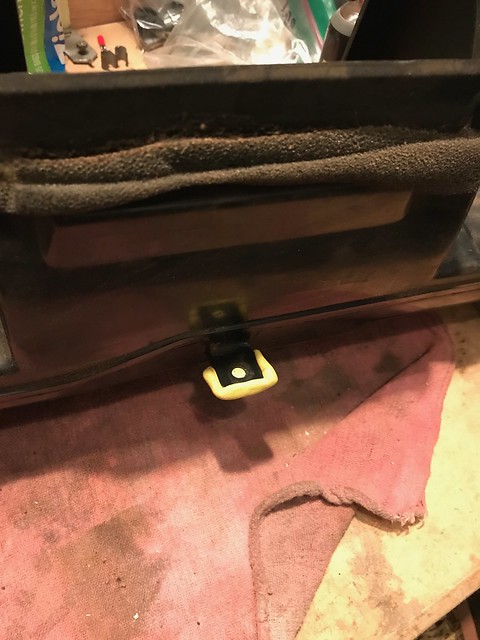
Carefully peeled it off and pressed that onto the broken tab, then filled the empty space with the black Q-Bond powder.

Peeled off the mold and was left with a thinnish tab. Some of the powder remained in the mold, so it seemed that in the thicker parts the glue didn't penetrate far enough before drying.
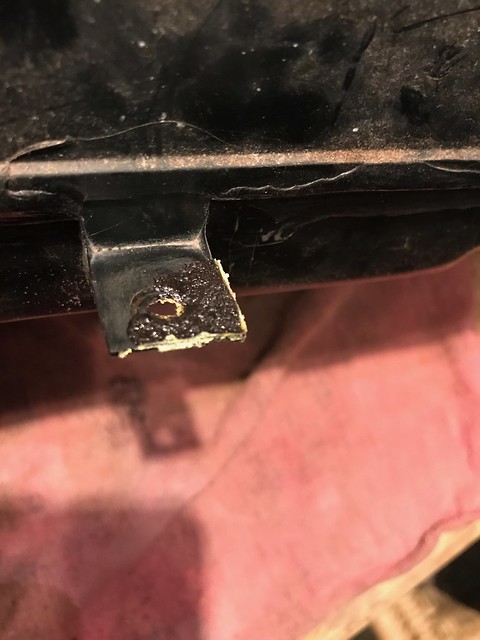

I really wanted more support under the tab, so the next day I cleaned it off and sanded it a little and did the procedure again. This filled in remaining gaps in the tab and got more of the underside support. I sanded it flat on both sides and called it done. I pushed and tugged and pressed on it and it wants to hold, but who knows until it gets installed?
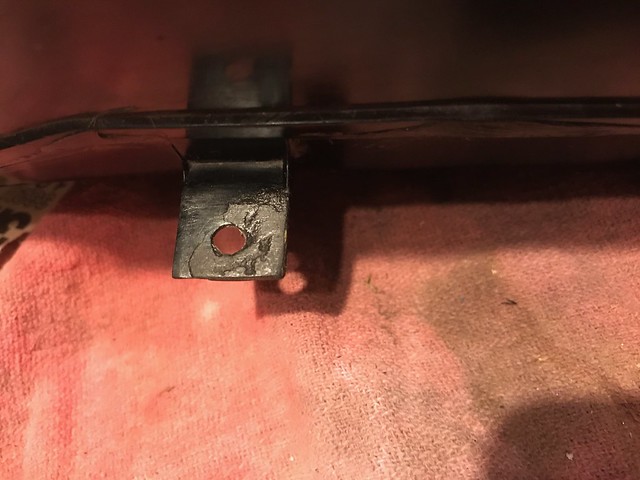
I liked the way the glue + powder worked so I used it to seal the back side factory seam that had come undone (or more likely was never done correctly). I washed the whole thing out thoroughly, which seems to have taken care of the powerful stench of mouse urine that had filled the garage in the one night it had spent inside. One repair done. Good marks for Q-Bond so far.

I decided to go with the 73 duct--Fewer broken parts. The center tab on the 75 is good so I grabbed some clay--wait, can't find any clay in the house. Kids have grown up and taken all the clay! Instead I found some putty used for hanging things on walls. It's a bit sticky but holds its shape, so I put a little oil on the tab and pressed an impression of the tab.

Carefully peeled it off and pressed that onto the broken tab, then filled the empty space with the black Q-Bond powder.

Peeled off the mold and was left with a thinnish tab. Some of the powder remained in the mold, so it seemed that in the thicker parts the glue didn't penetrate far enough before drying.


I really wanted more support under the tab, so the next day I cleaned it off and sanded it a little and did the procedure again. This filled in remaining gaps in the tab and got more of the underside support. I sanded it flat on both sides and called it done. I pushed and tugged and pressed on it and it wants to hold, but who knows until it gets installed?

I liked the way the glue + powder worked so I used it to seal the back side factory seam that had come undone (or more likely was never done correctly). I washed the whole thing out thoroughly, which seems to have taken care of the powerful stench of mouse urine that had filled the garage in the one night it had spent inside. One repair done. Good marks for Q-Bond so far.
crice63- Donating Member

- Street Cred : 2
 Re: A/C duct, plastic repair?
crice63 wrote:
On the top duct, what is connected to the middle tab next to the opening?
The bottom of my duct is broke like the bottom picture. Is this where a bracket connects to?

Hawk03- G3GM Enthusiast

- Street Cred : 18
 Re: A/C duct, plastic repair?
That tab connects to a metal support bracket that helps support it to the heater box. Almost always broken. Many people only see the four mtg screws on the underside when removing these and miss that one which is mostly hidden from view. They yank on the duct to remove it and it breaks the tab.

Mcarlo77- Donating Member

- Street Cred : 78
 Re: A/C duct, plastic repair?
Thanks, that make sense. When I got my car in the 90's the bottom bracket was hanging from the firewall and I always thought it was a bracket for a CB radio or something that was installed prior to me getting the car. I will try and figure out a way to attach the bottom to the heater box.

Hawk03- G3GM Enthusiast

- Street Cred : 18
 Re: A/C duct, plastic repair?
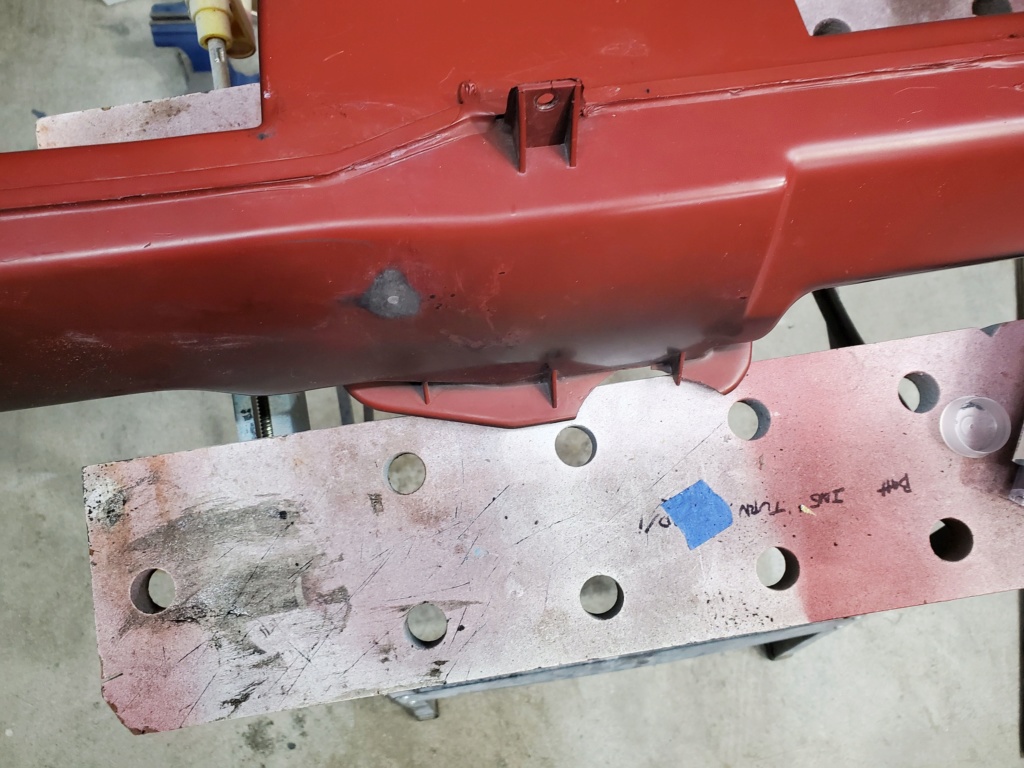
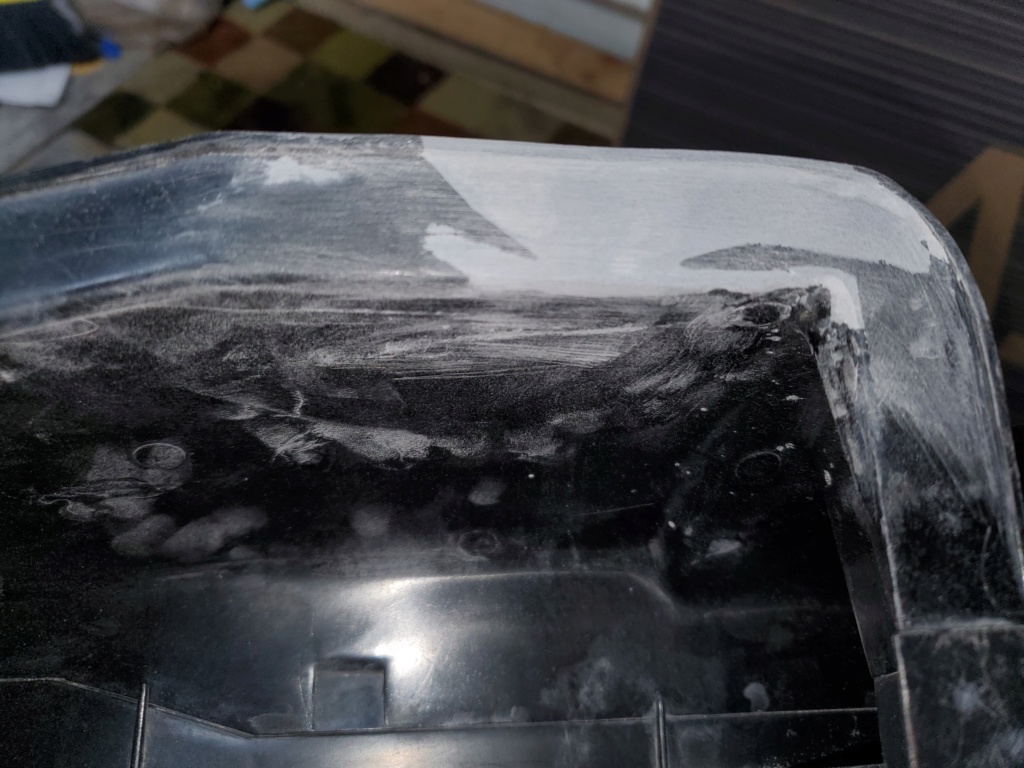
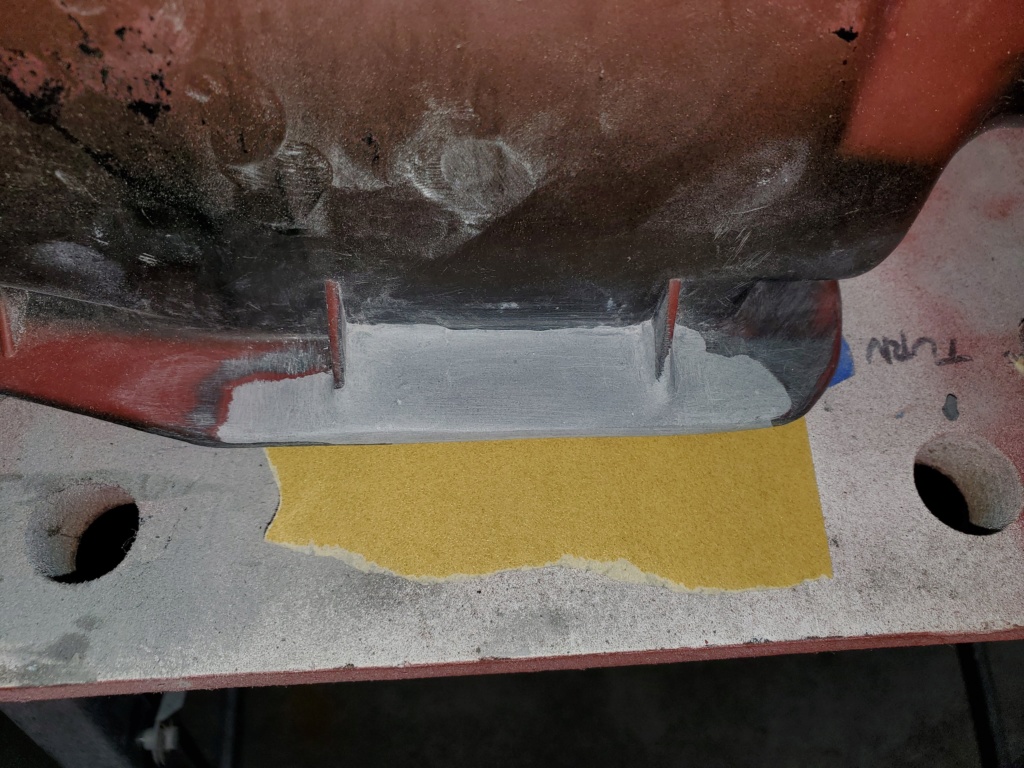
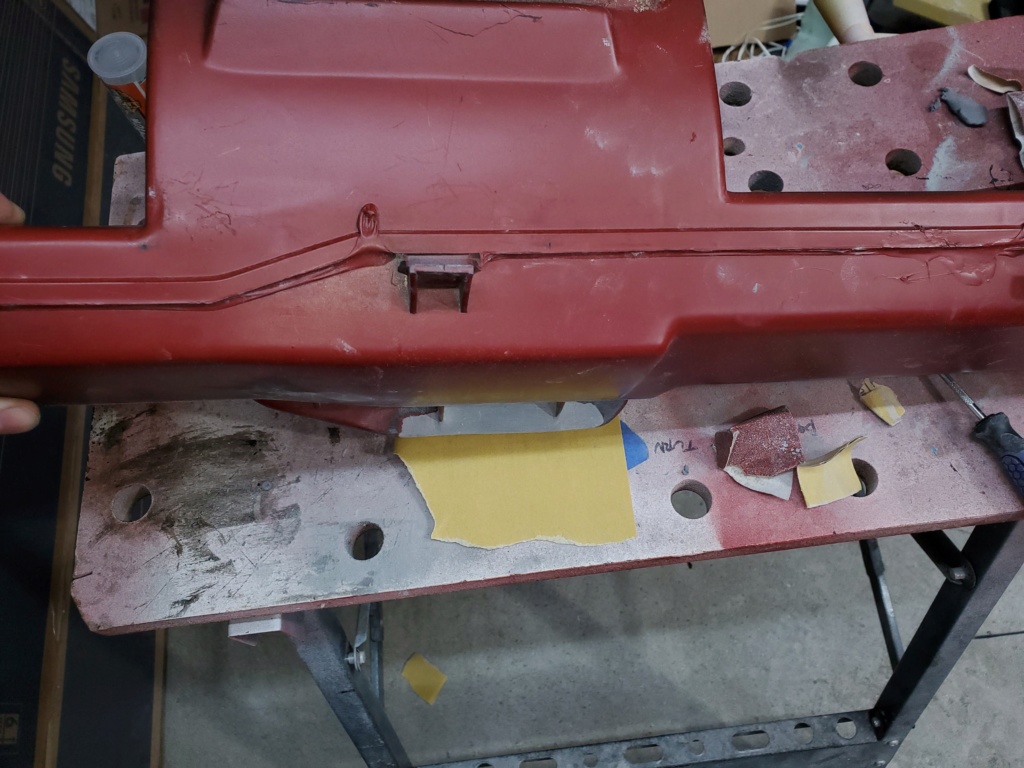
I used some Gorilla Glue Epoxy stick putty to fill the missing piece in my passenger side lower duct. You knead it for a few minutes then smooth it into place, sand it to shape and reapply if needed. I globbed it on because I wasn't sure what to expect but I think its probably best to apply it in small amounts. It is hard as a rock and feels like it belongs. It should look good once its painted. I'm not sure what the force of the bracket that attaches to that portion of the duct is so I am not sure if it will hold if you do attach it. I don't have a bracket installed so I won't be able to test it but the way I have applied it, I think it should work okay if the bracket is attached.
https://www.amazon.com/Gorilla-4242501-Epoxy-Putty/dp/B07PGKYF5X
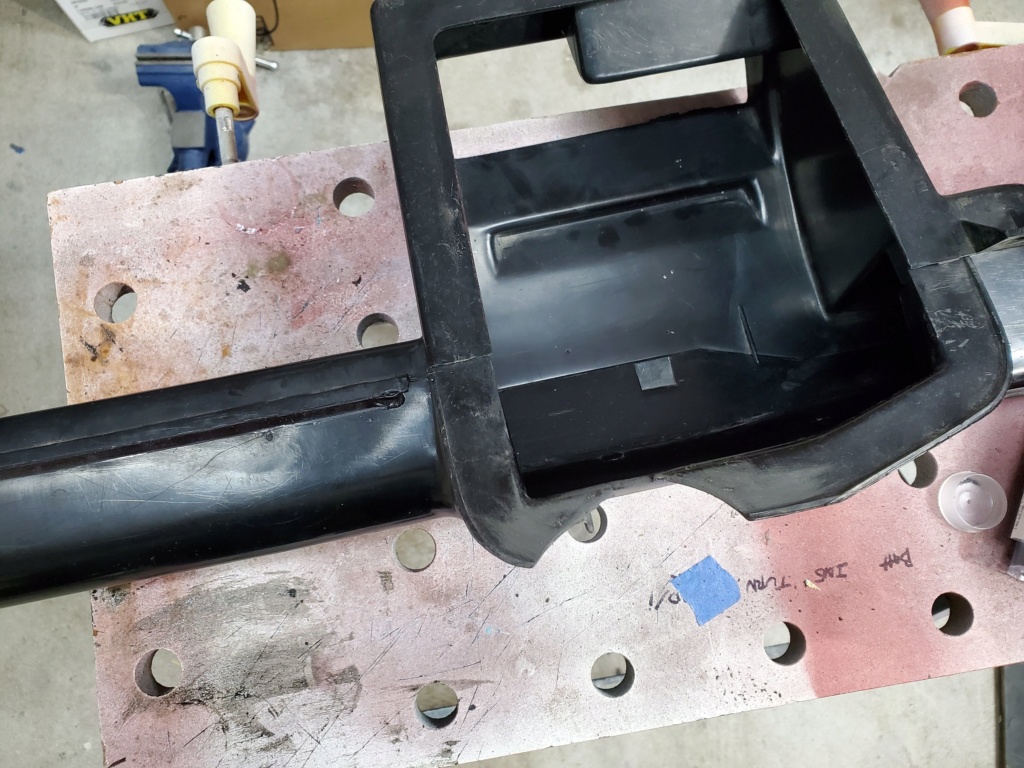
https://www.amazon.com/Gorilla-4242501-Epoxy-Putty/dp/B07PGKYF5X


Hawk03- G3GM Enthusiast

- Street Cred : 18
Permissions in this forum:
You cannot reply to topics in this forum|
|
|




» Roll Call and Car showcase
» Central Texas Noob
» Welcome Keith Seymore
» Wanted: Front park lamp assemblies
» 75 Hurst Olds T-tpos
» G3 Chevy rims- help ID these
» 75 el camino project.
» Have had a few questions
» vinyl top removal